A replacement remote can leave a useful holder with the wrong dimensions. You want to change the space for the device while keeping the design you already understand.
Start with the holder template, change its device-width input, and refine that same saved instance as the brief becomes more precise. This Nora3D example follows three width inputs—54, 62 and 60 mm—in one CAD document.
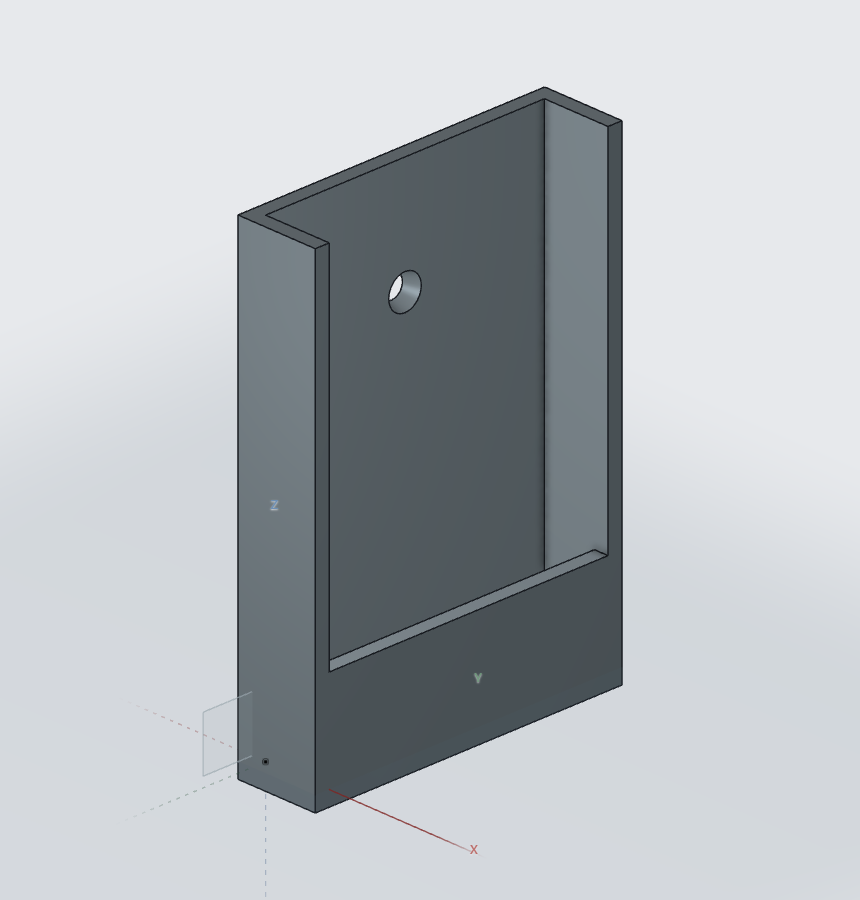
Start with the object, not a blank canvas
The Remote holder template gives this example a rear panel, side walls and a lower front section. The device-length input is 90 mm; the device-depth input is 11 mm. Both stay fixed throughout the edits.
The starting device-width input is 54 mm. The resulting holder measures 60 mm across its outside, with an overall height of 96 mm and depth of 17 mm. Device inputs and outside dimensions describe different things; keeping that distinction clear makes the next change easier to assess.
Give the wider device more room
For the next version, the design brief calls for a 62 mm device-width input. Updating the existing template instance widens the holder itself: its measured outside width increases from 60 to 68 mm.
The overall height and depth remain 96 mm and 17 mm. The change is visible across the holder, while its upright form stays recognizable.
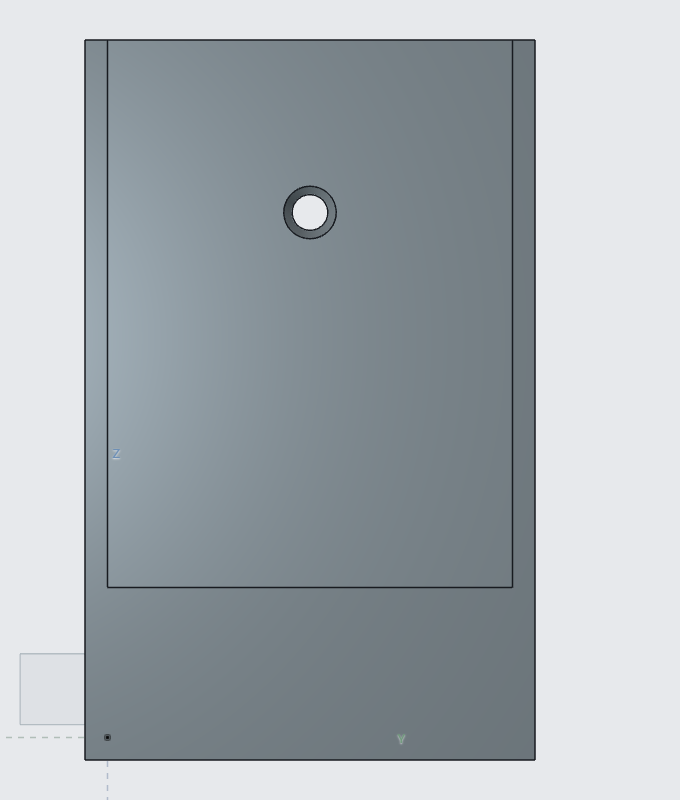
60 mm outside width
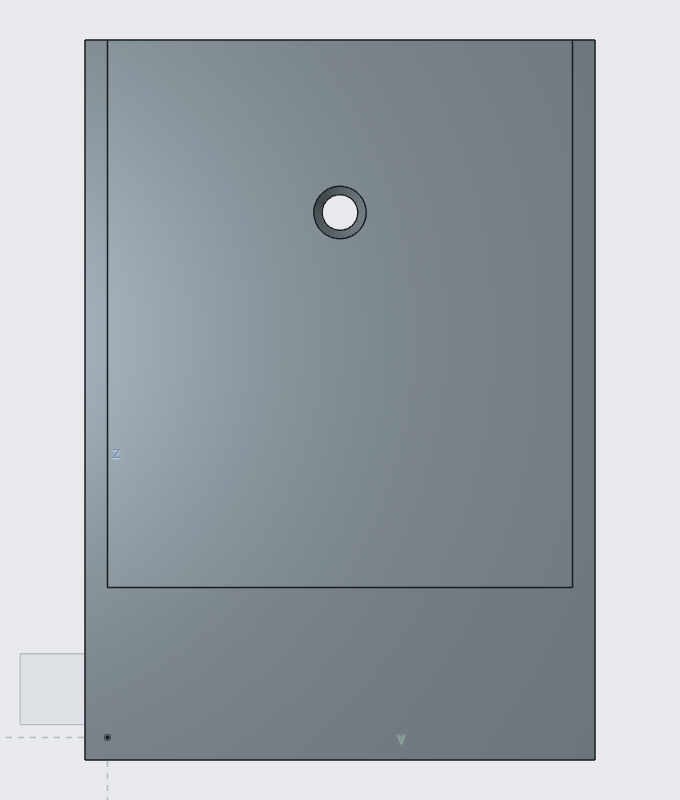
68 mm outside width
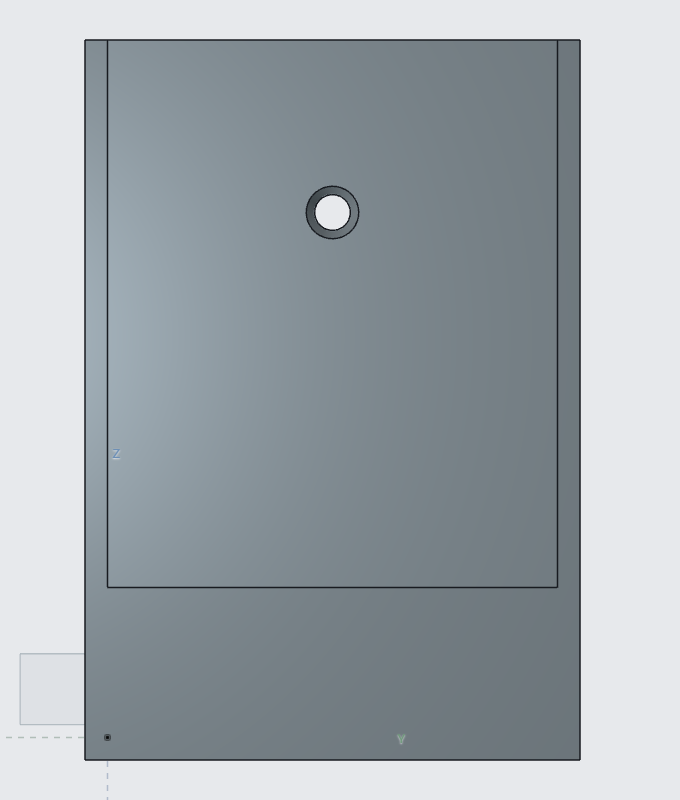
66 mm outside width
Then refine the requirement
A first revision need not be the last. If the revised brief calls for 60 mm instead, you can update the same instance again. That second adjustment brings the measured outside width to 66 mm.
| Saved stage | Device-width input | Measured outside width |
|---|---|---|
| Starting point | 54 mm | 60 mm |
| Wider version | 62 mm | 68 mm |
| Refined version | 60 mm | 66 mm |
Each stage was saved and reopened. The checks compared the saved revision, model history and geometric surface after reopening. All three stages belong to one document and one editable template instance.
Keep the design moving
The useful result is a holder you can continue adjusting when the requirement changes. Here, the template's exposed controls rebuild its native geometry, so the next dimension remains an edit to the same instance rather than another isolated design.
For your own holder, begin with the device's actual measurements and decide which dimensions should stay fixed. The workflow then has a clear purpose: change the part where the requirement changed, inspect the result, and keep refining.
For another example of refining a local dimension, see changing one tool-holder hole. Use the functional CAD review checklist to decide what to measure after an update.