Imagine adding a tool with a 12 mm shank to your storage station. The larger holes already have jobs. You want the new tool in one particular position, beside the tools you use with it—without rearranging the entire station.
Enlarge that storage hole, then refine its allowance on the same model. In this Nora3D example, the selected hole grows from 8 to 12 mm, then to 12.5 mm. Its immediate left neighbor stays at 6 mm, and the station's outer dimensions remain 150 × 80 × 44 mm.
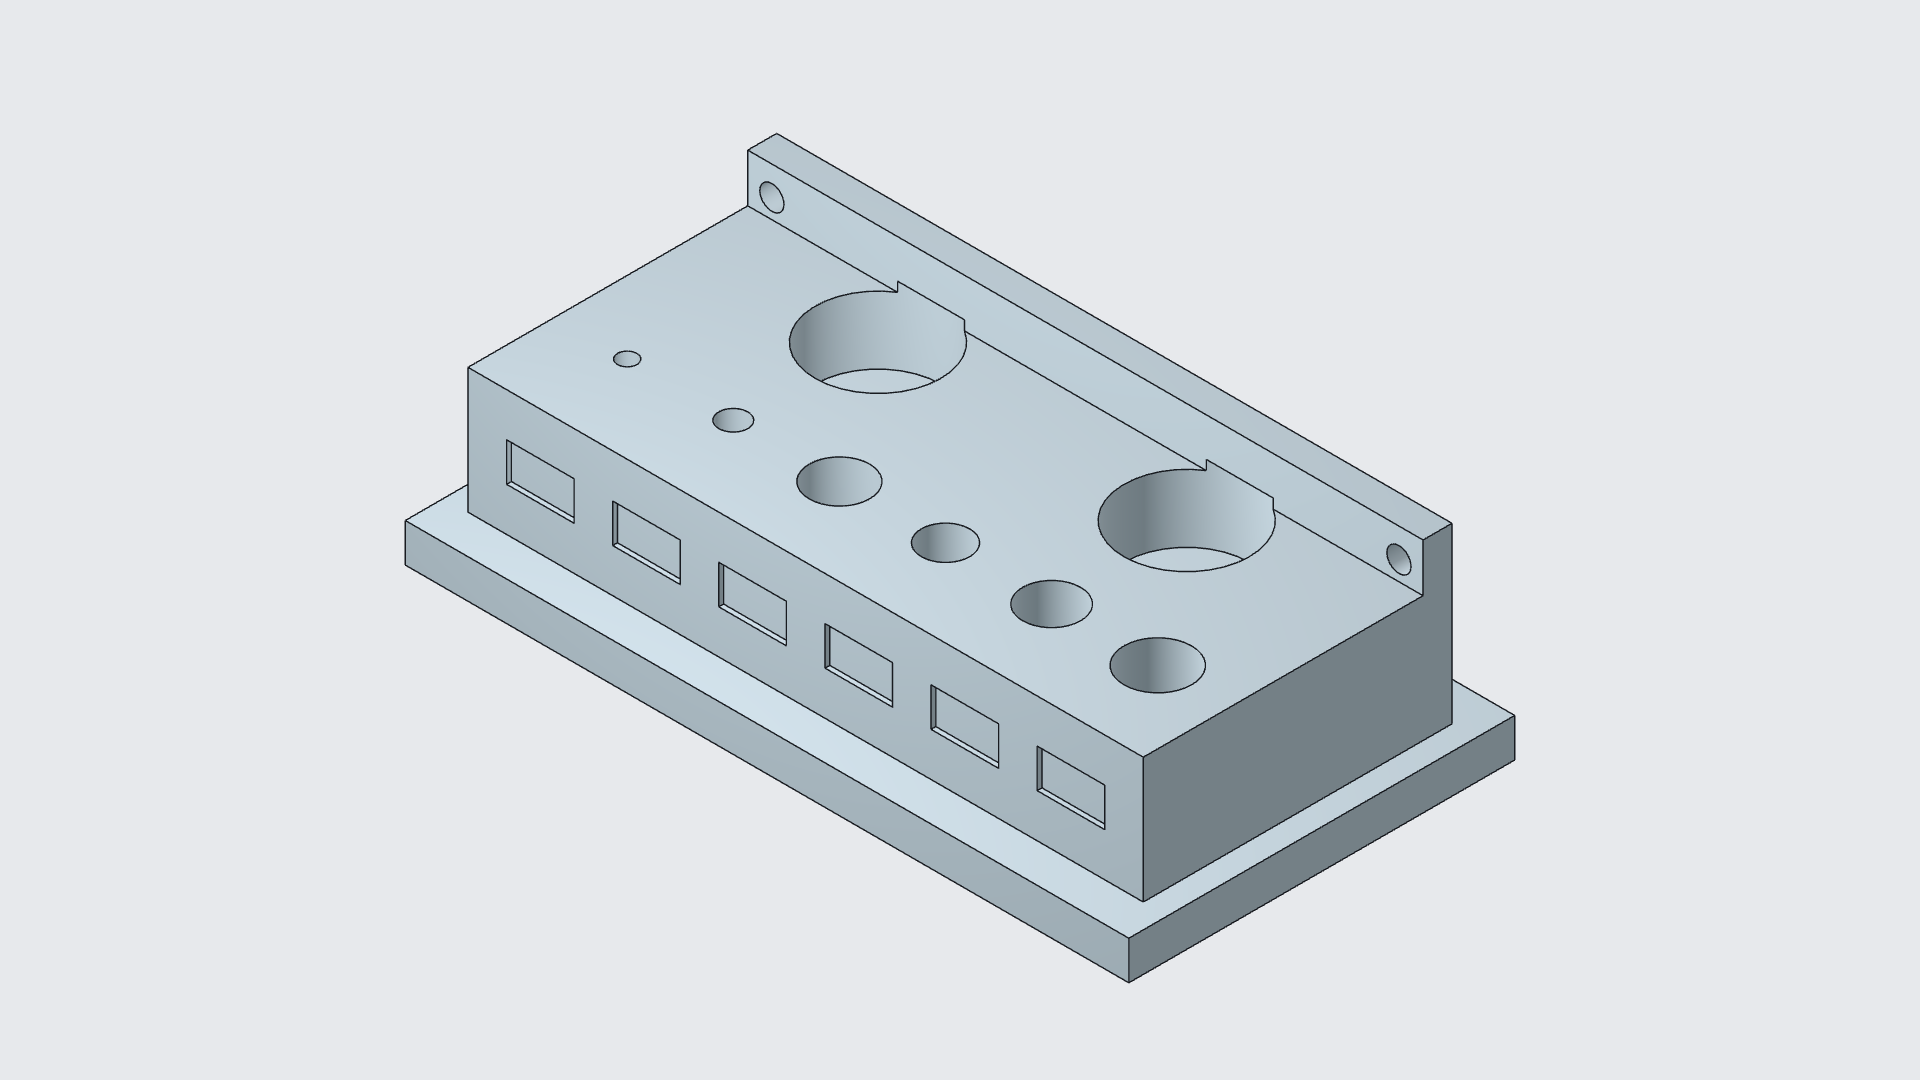
Keep the layout you chose
The starting model is Nora3D's Stepped collet and bit station template. It already has the arrangement we want: different hole sizes, a stepped body, two rear pockets and places for labels.
Scaling the whole station would also change its other openings and outside dimensions. The useful request is more specific: make the third front storage hole wider while keeping the surrounding layout.
This is where a local edit earns its place. You can retain a detailed starting model and concentrate on the position that needs to accommodate a different tool.
Make one opening wider
The selected hole measured 8 mm before the change. Nora3D's AI-controlled edit moved its cylindrical wall outward by 2 mm, producing a 12 mm diameter. The adjacent smaller opening measured 6 mm and remained the reference beside it.
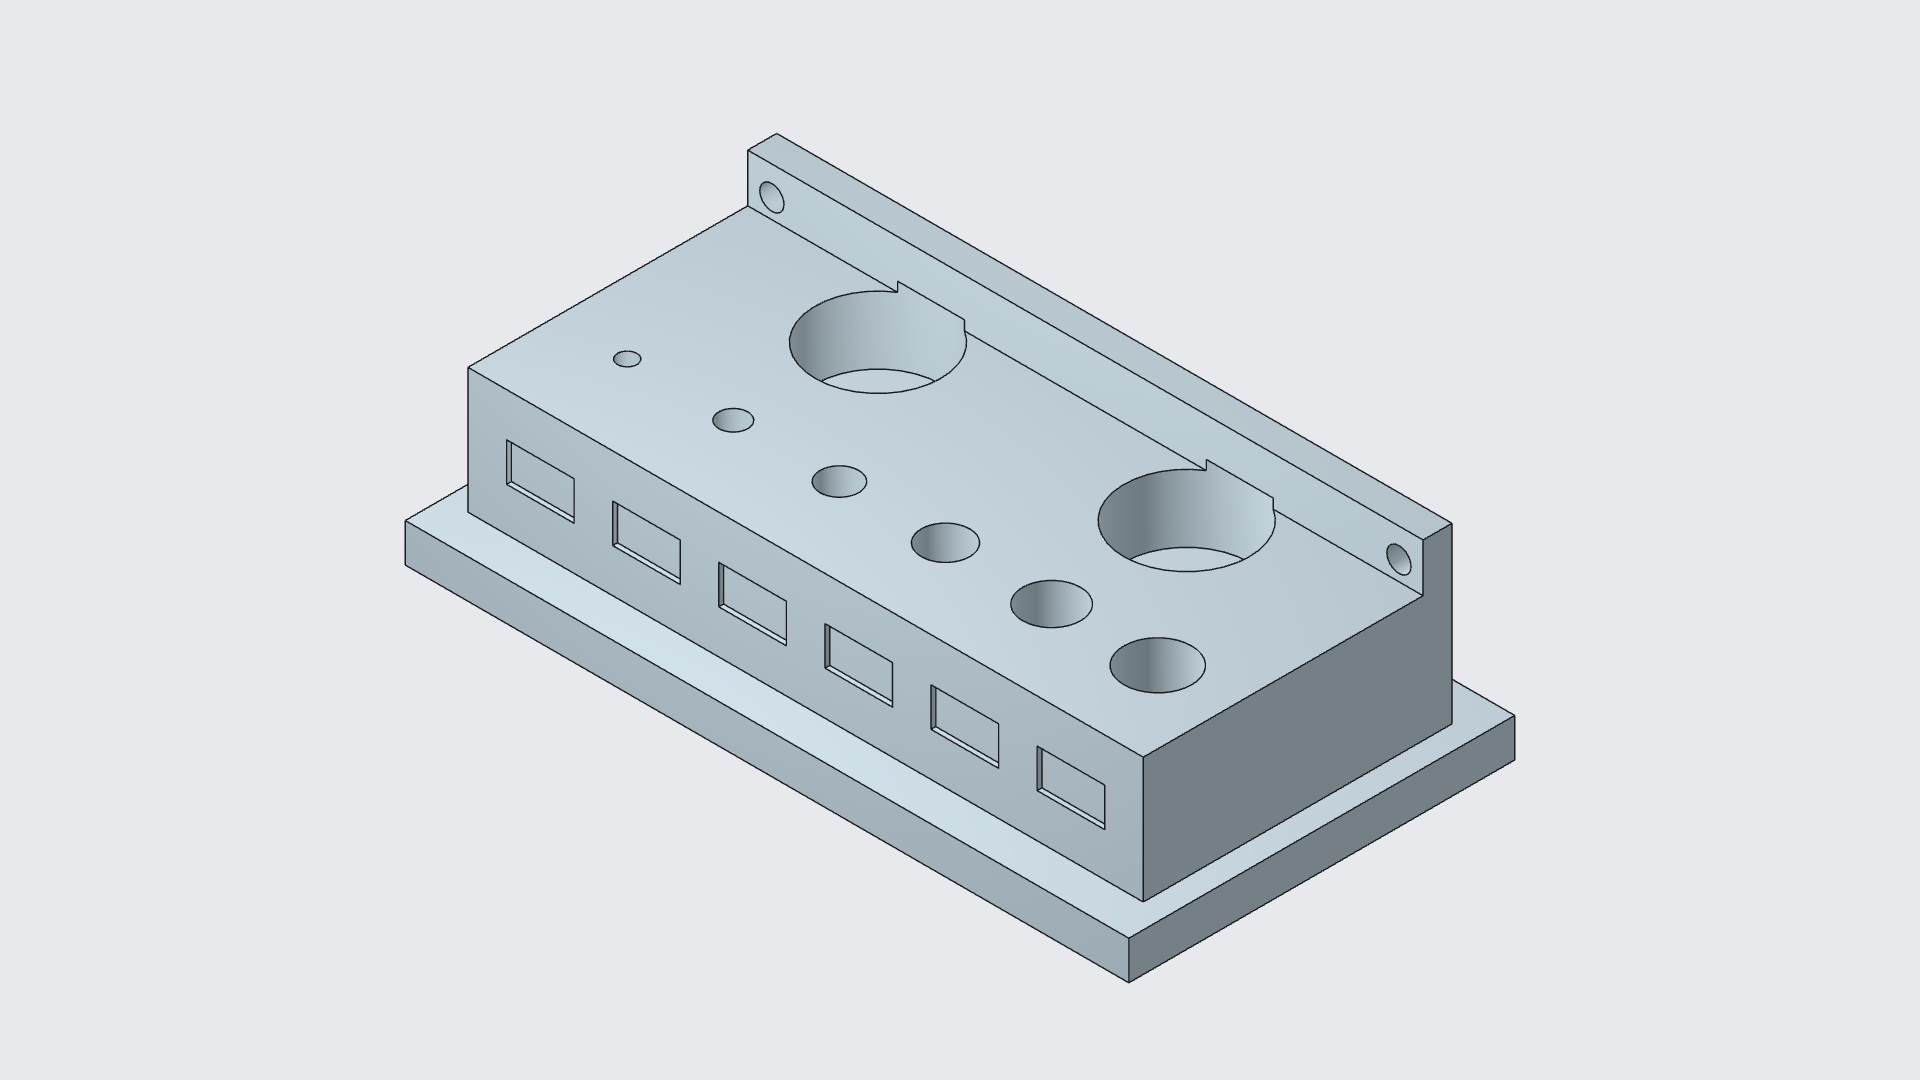
Starting position
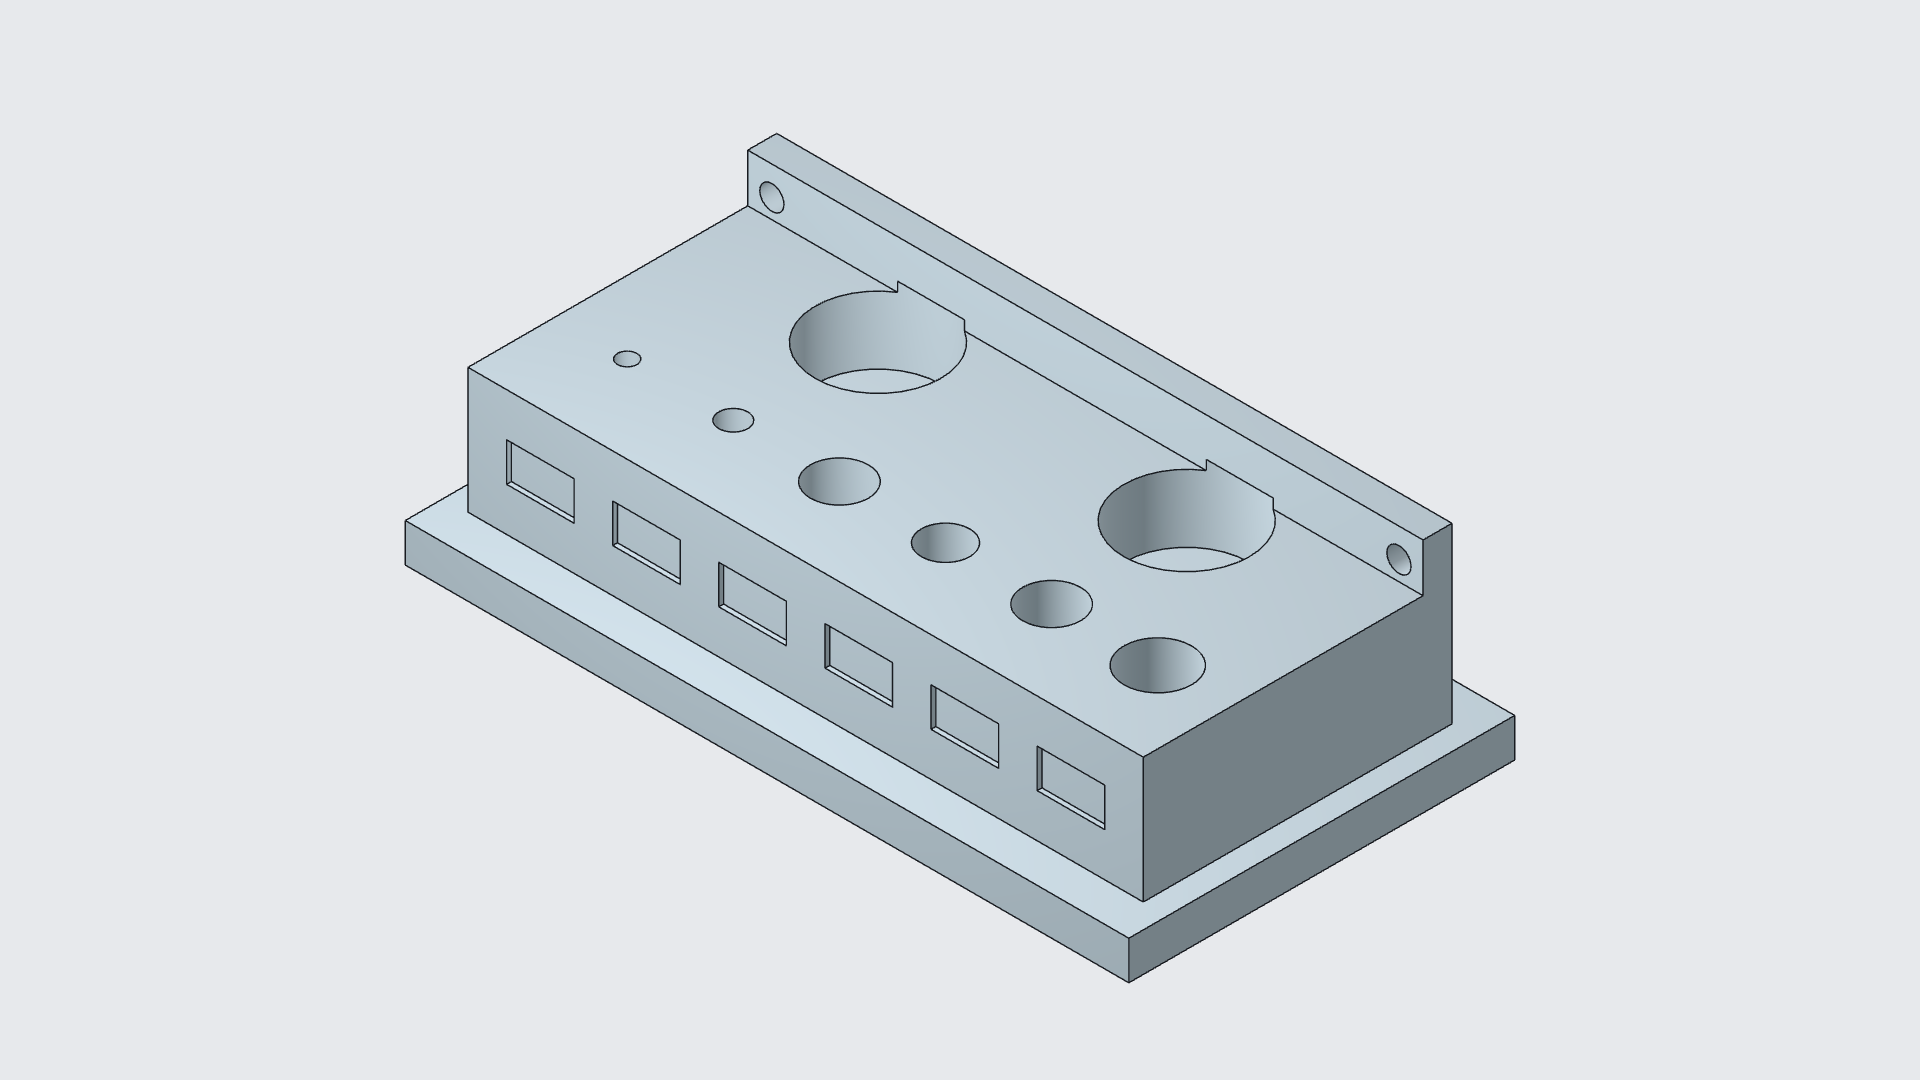
First revision
Allowance added
The three views use the same camera, scale and detail window. The third front opening from the left is the target; the smaller opening immediately to its left is the 6 mm reference.
The change adds an editable offset feature to the starting solid. That new feature provides the control for the next revision; it does not depend on recovering the template's original construction history.
Leave room for the next decision
A nominal 12 mm shank and a nominal 12 mm opening have no designed diameter allowance. For this example, the next choice was a 12.5 mm hole: 0.5 mm more across the diameter, equivalent to 0.25 mm per side.
That is a design choice to evaluate for your tool and manufacturing process. It gives the second revision a clear purpose: add room at the assigned position while retaining the rest of the station.
We changed the same offset parameter from 2 to 2.25 mm. The model did not need a replacement station or a separately rebuilt hole.
| Stage | Target diameter | Radial offset added | Left neighbor |
|---|---|---|---|
| Starting template | 8 mm | — | 6 mm |
| First revision | 12 mm | 2 mm | 6 mm |
| Refined revision | 12.5 mm | 2.25 mm | 6 mm |
The arithmetic helps explain the control: moving a cylindrical wall outward increases the radius, so the diameter changes by twice that amount. The final 0.5 mm refinement is subtle in the image; the native measurement confirms it.
Reopen it. Keep refining it.
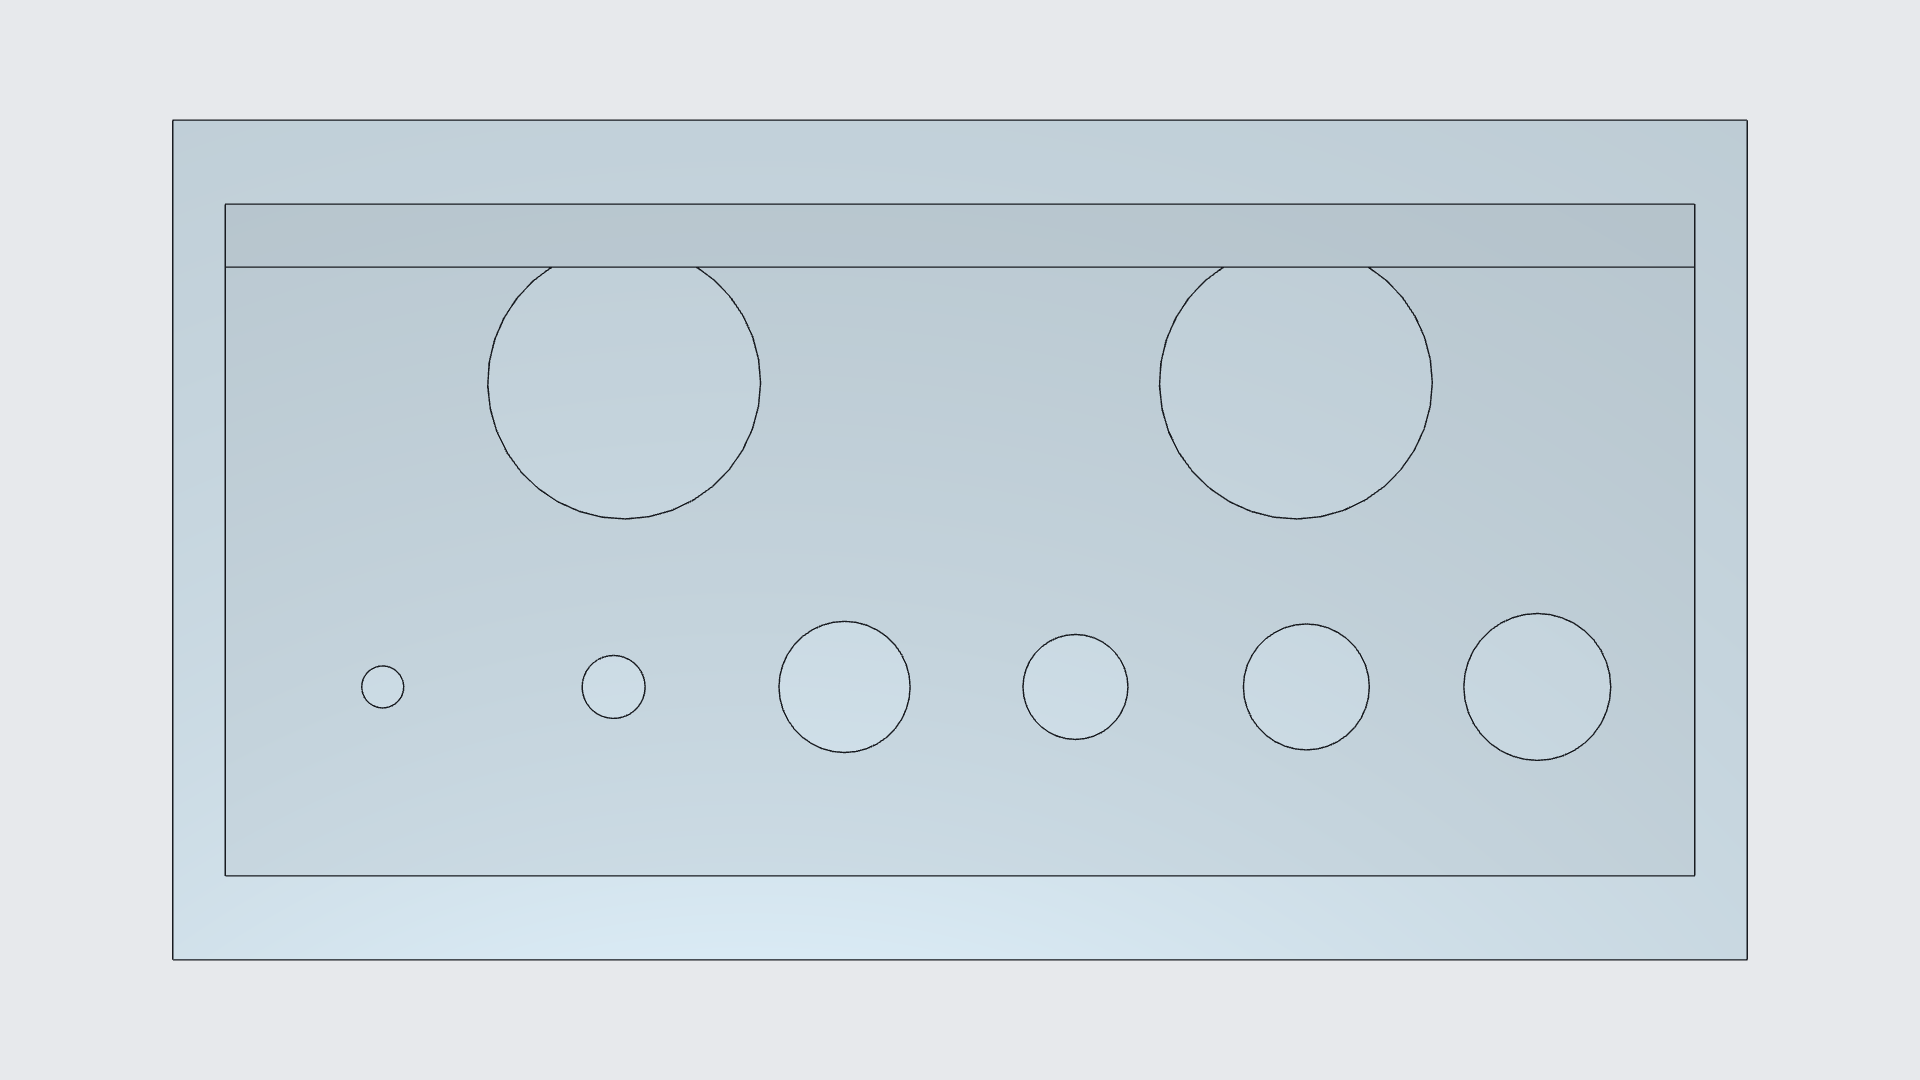
The added offset parameter also returned at 2.25 mm after reopening. The result is a saved edit you can revisit when the requirement changes again.
Before deciding on the next revision, check the intended tool's shank, the room around its wider head and the access you need to remove it. Our functional CAD review guide gives a broader inspection sequence. For another example of retaining an interface while changing one area, see extending motor-mount slots on the same model.
Your tool collection can change without making you start your storage design over.