You find the display you want. Its opening is wider than the one in your enclosure. The buttons, mounting ears and board supports already have their places.
Edit the display opening locally, then refine that edit. In this Nora3D example, a 64 × 24 mm window becomes 80 × 24 mm, then 88 × 30 mm. The control box keeps its outer size and existing mounting layout.
Start with what you want to keep
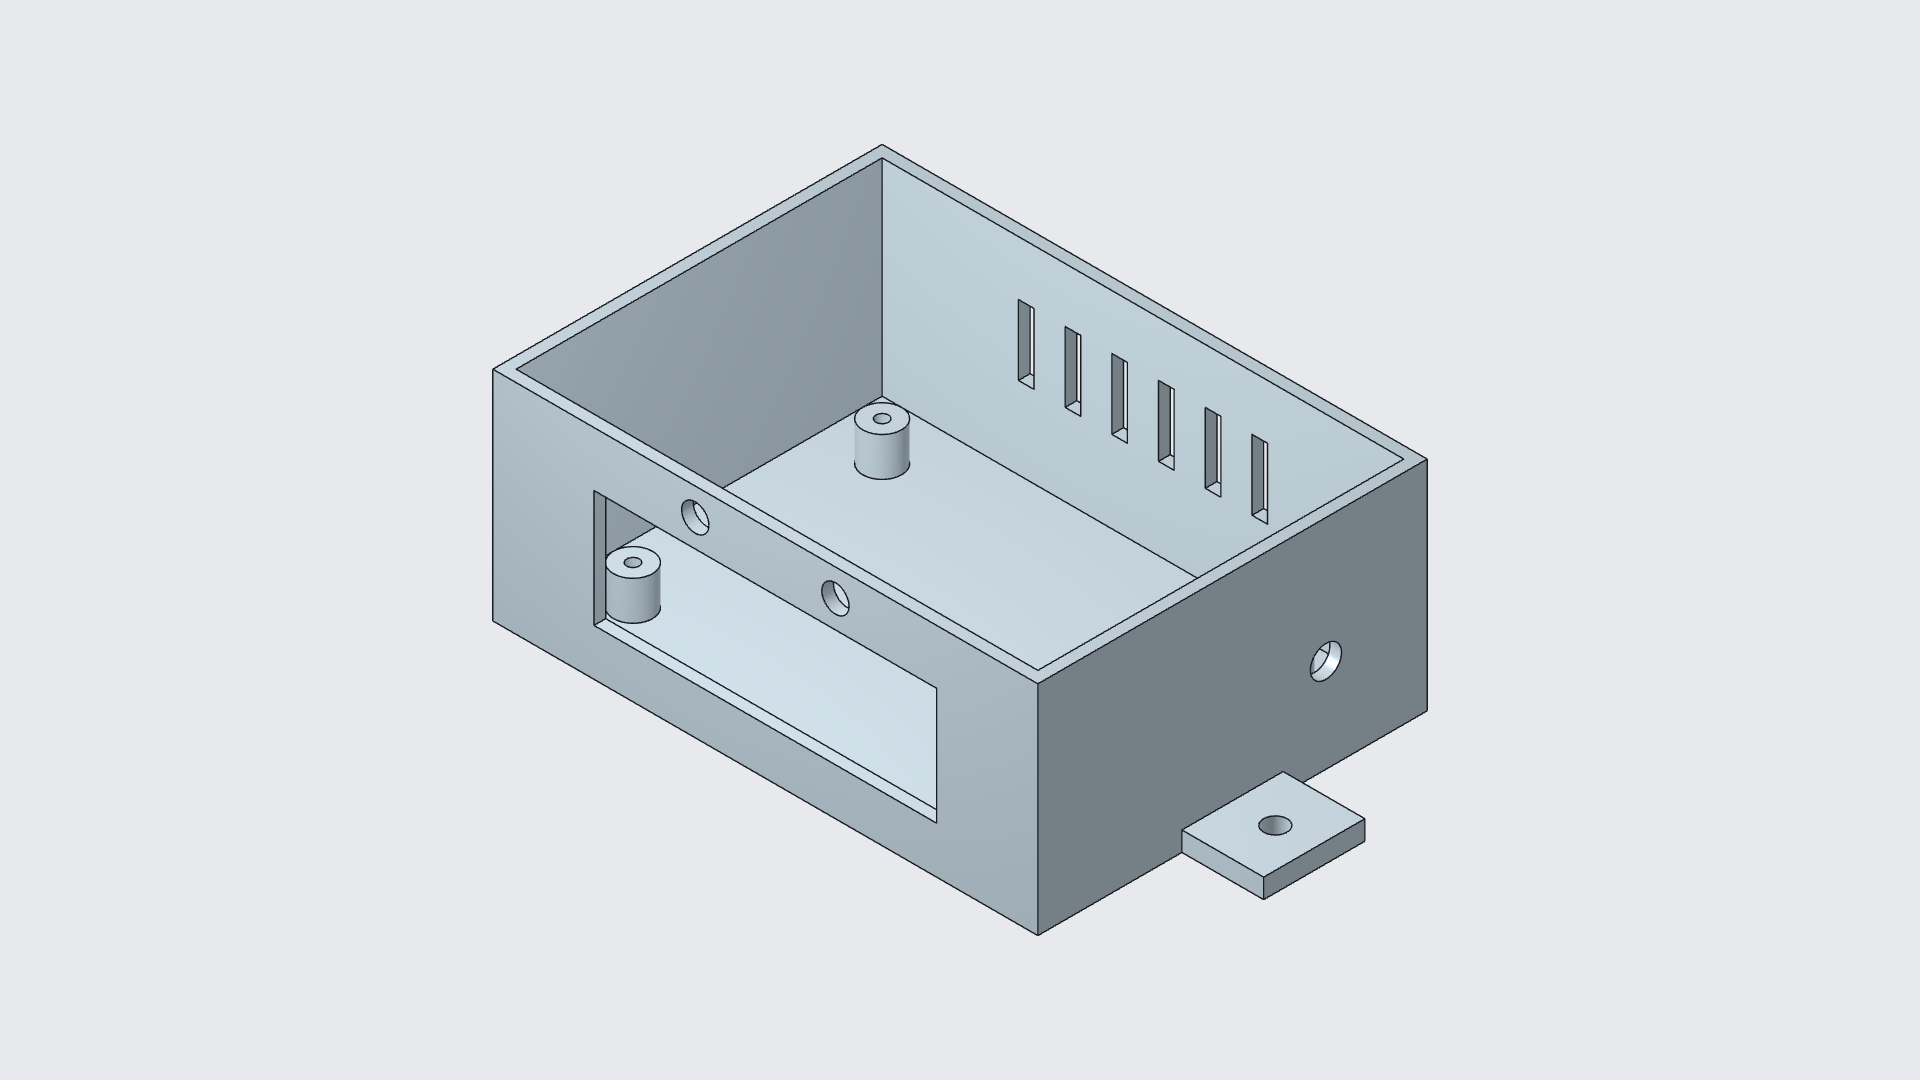
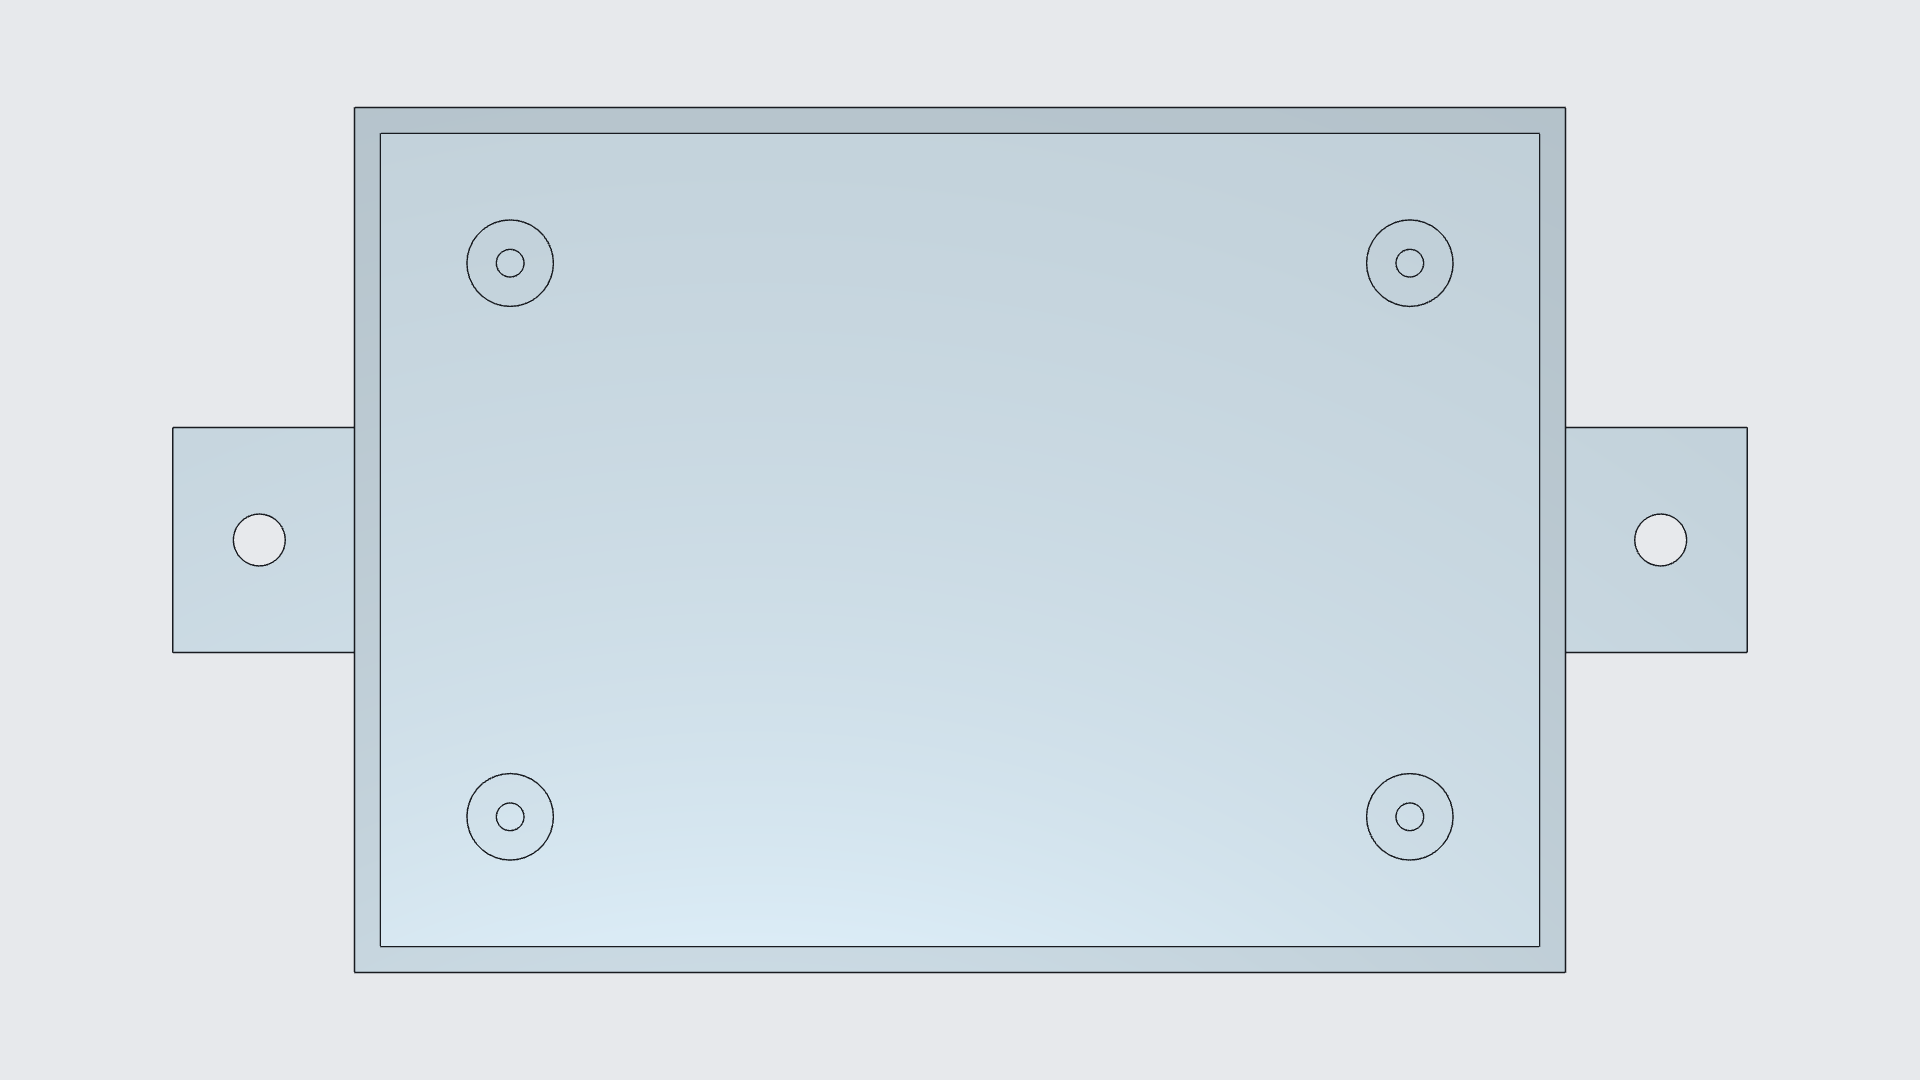
The starting point is the Display and button control enclosure template. It already has a hollow body, four board supports, two mounting ears, six rear ventilation slots, two button holes and a side port.
Scaling the whole model would also change the hole spacing and wall thickness. Here, the useful change belongs at the display opening.
Widen the opening, keep the controls
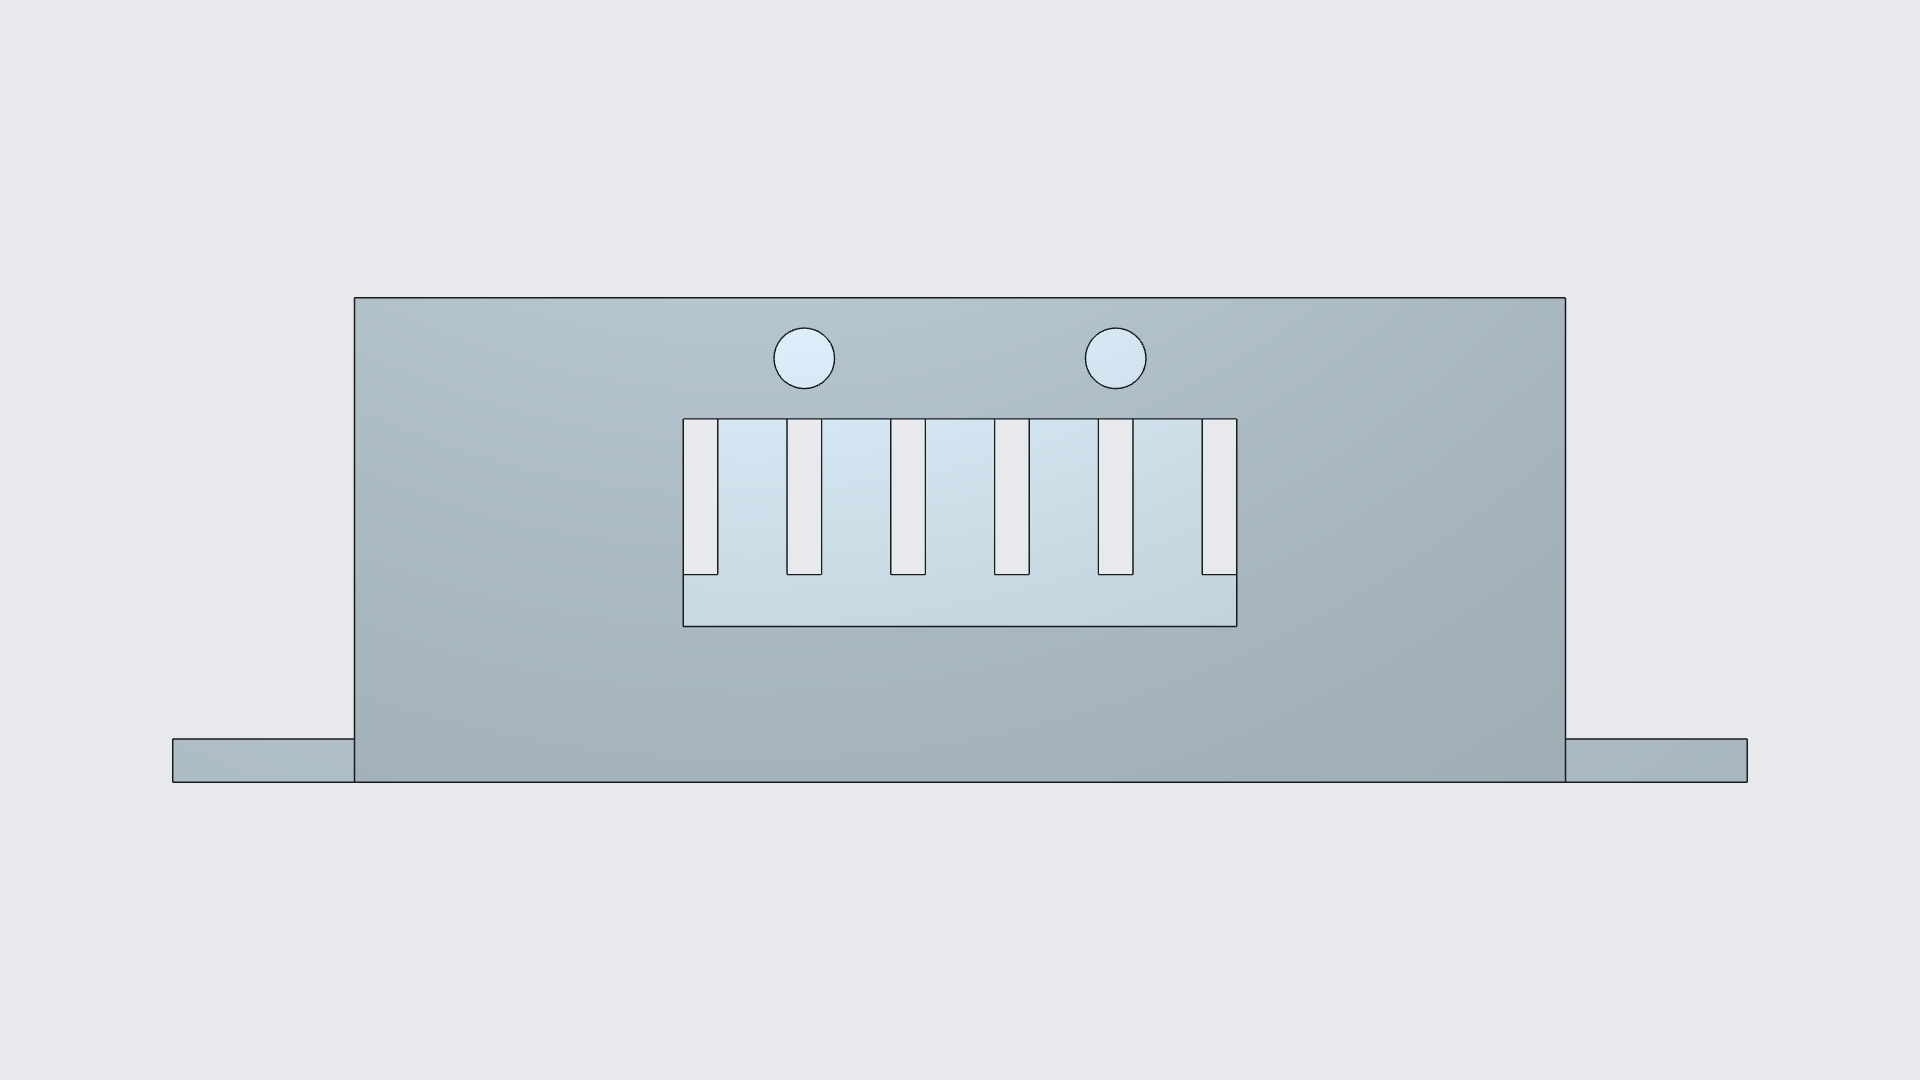
The first edit moves each of the window's two side walls outward by 8 mm. The opening becomes 80 × 24 mm. Its centre stays on the same horizontal position, and its upper and lower edges remain where they were.
Nora3D saves this as a new face-offset feature on the inserted template. You can return to this added feature and change its offset for the next revision.
Need more height? Leave the button row alone
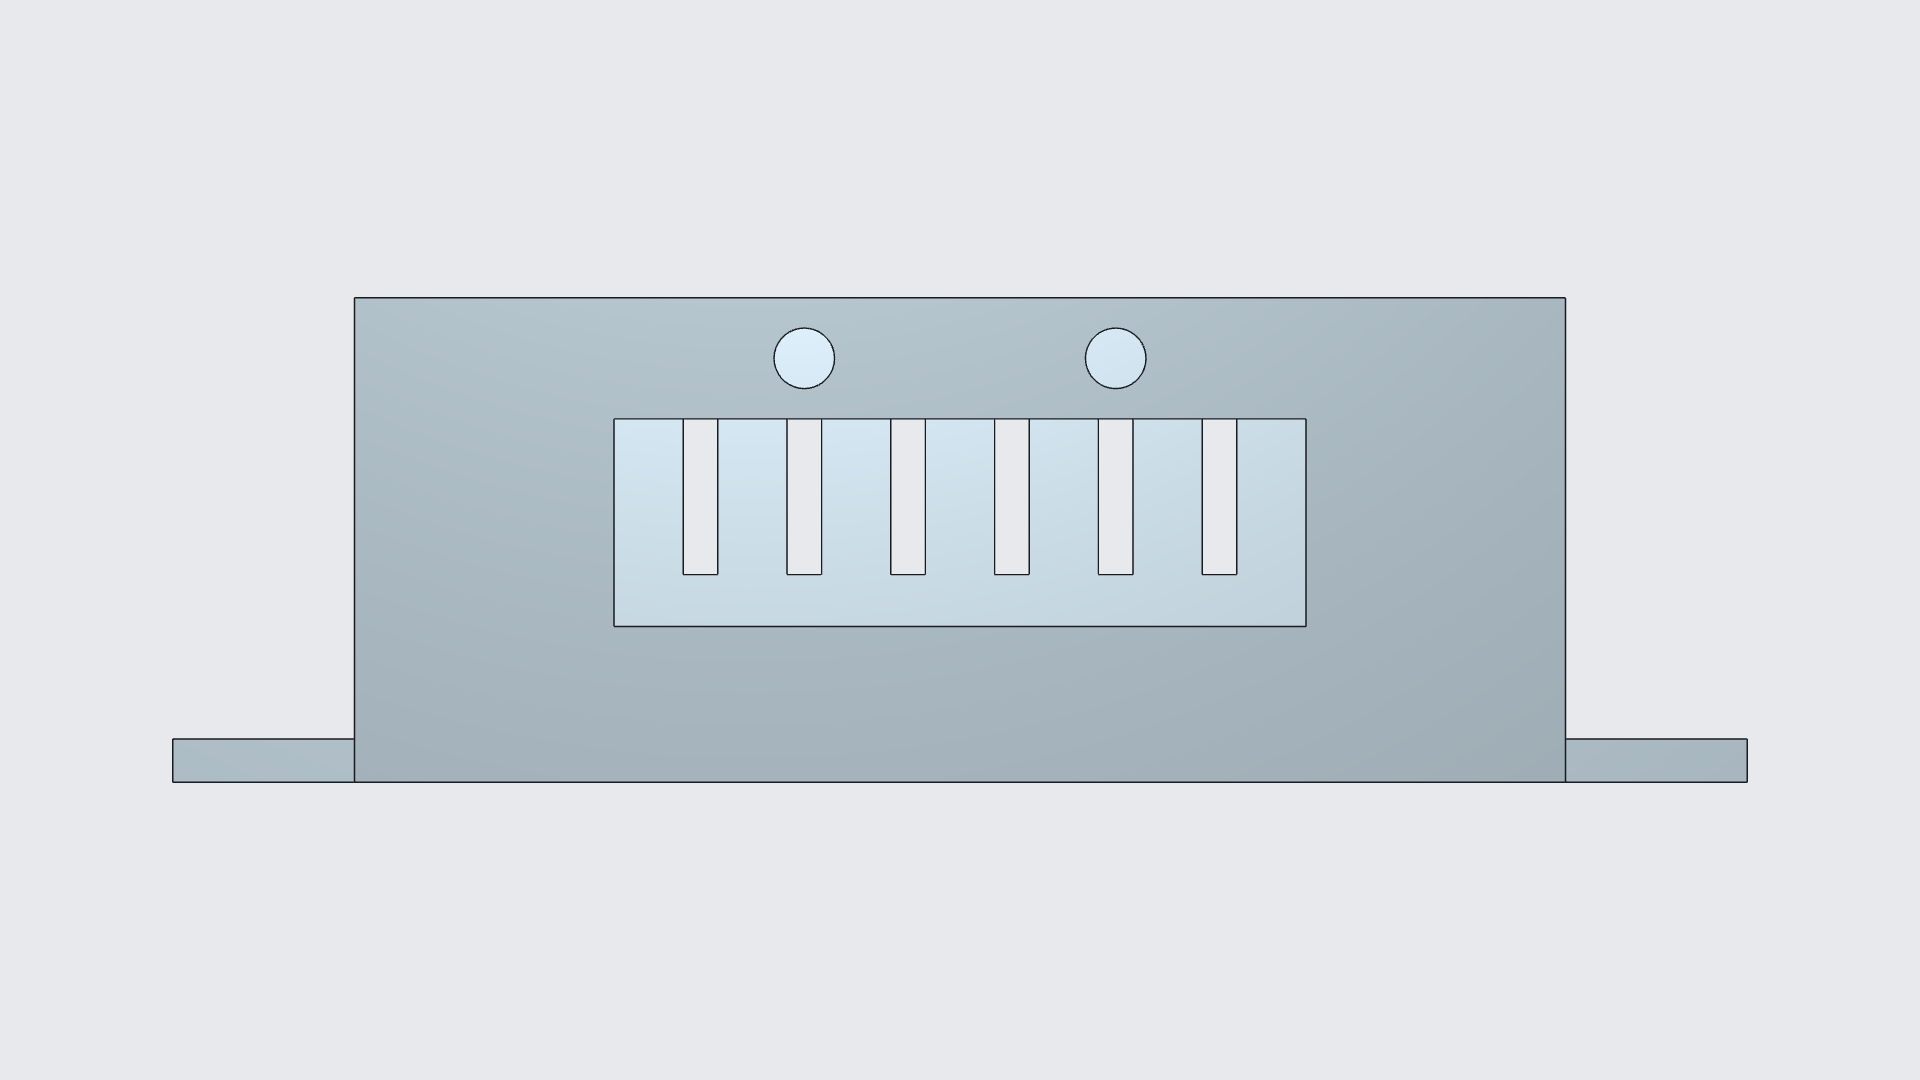
The second revision changes that same offset parameter from 8 to 12 mm, making the window 88 mm wide.
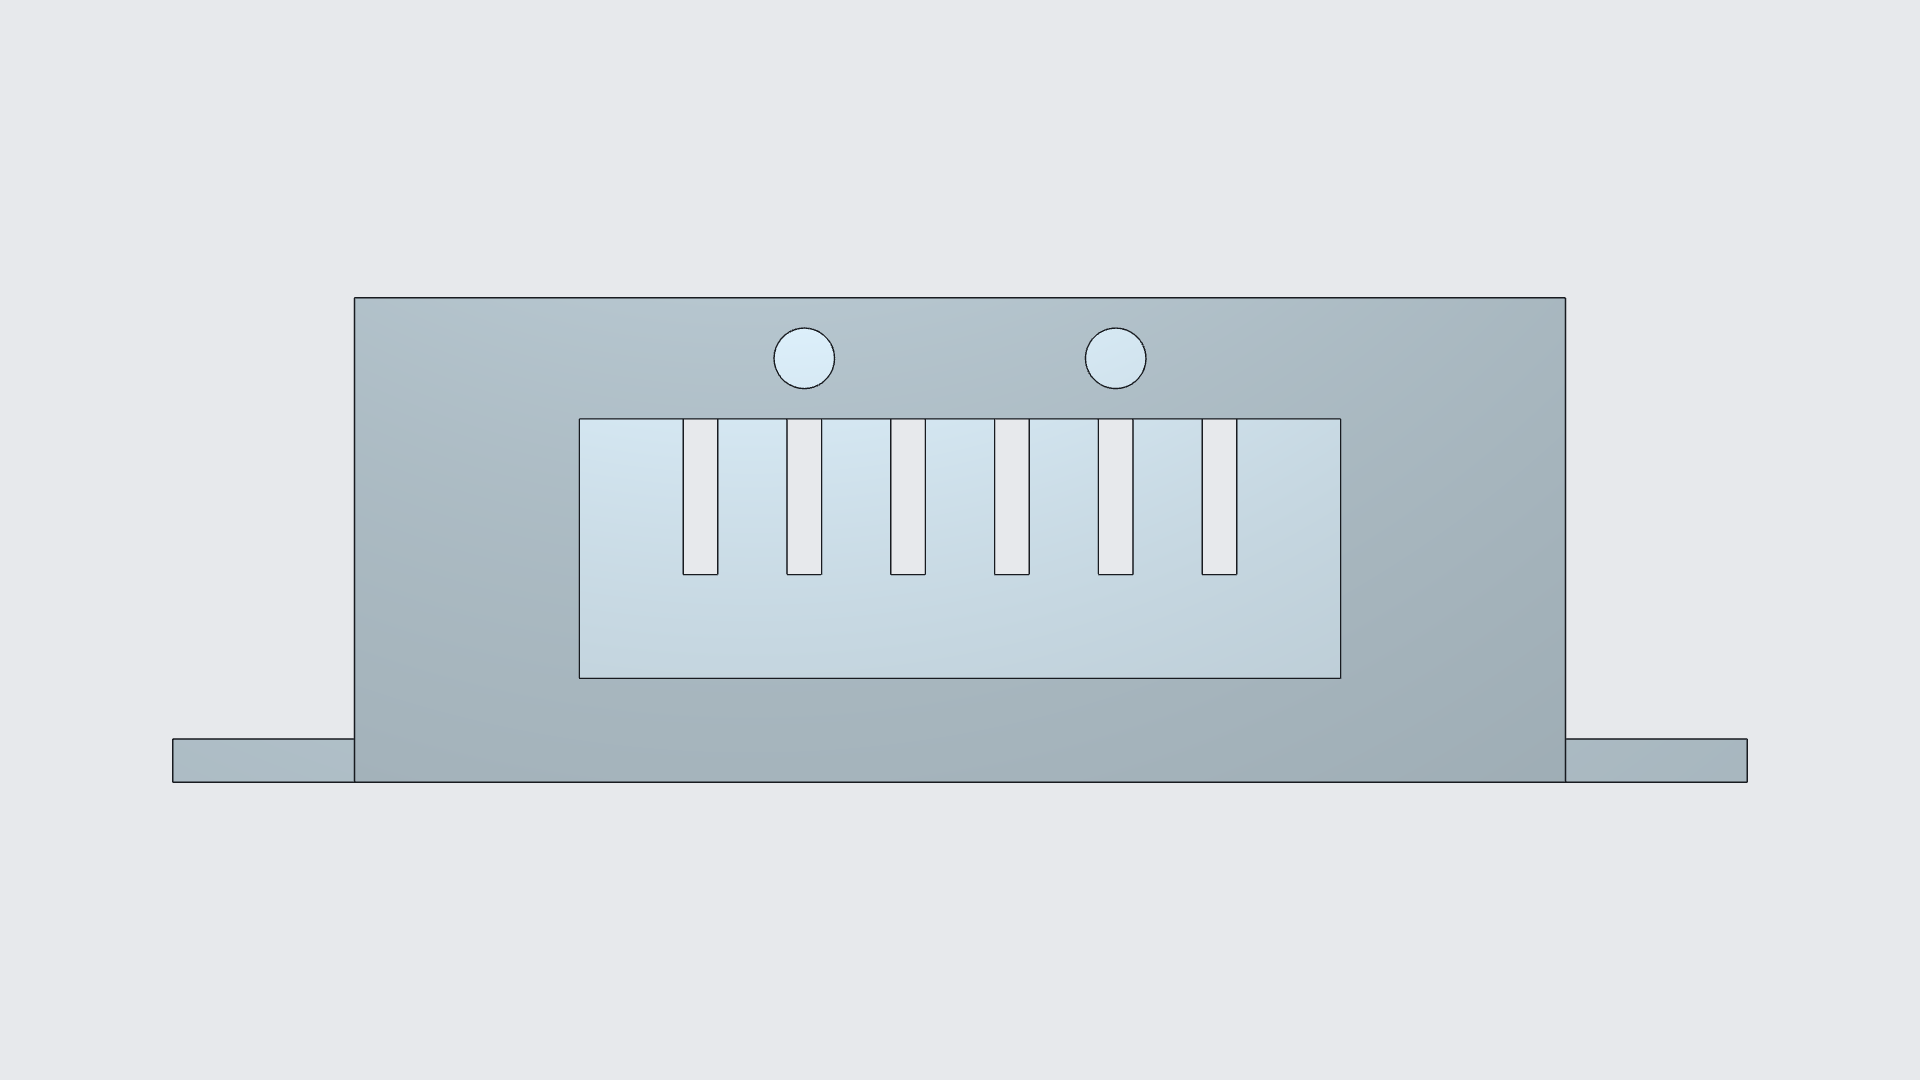
For height, the direction matters. Expanding upward would consume the space beneath the buttons. Instead, a second local edit lowers the bottom edge by 6 mm. The final window is 88 × 30 mm; the top edge remains at the same height.
Keep the rest of the design in place
The outer enclosure remains 140 × 100 × 56 mm, with a 182 mm overall span across its mounting ears. The two 7 mm button holes keep their 36 mm centre spacing. Inside, the four board supports retain their locations; the rear vents and side port remain in place.
The two local features remain in the same Nora3D document, so the next adjustment can build on this version. For your own display, work from its mechanical drawing: the viewing opening, board outline, fasteners and cable route are separate dimensions. The same approach applies when the electronics inside change: see how a PCB carrier gained more headroom and cable space while keeping its mounting base.
Keep the work that already fits your design. Change the part that needs to grow.