To customize a desk organizer for differently sized parts, add an editable sorting insert and adjust its compartments around the contents. In this Nora3D example, two equal 49 mm pockets become a 69 mm pocket and a 29 mm pocket. A second edit widens the front notch from 18 mm to 36 mm and lowers its bottom by 4 mm.
The starting point is the Desk Organizer template. The new tray adds a shallow, two-compartment storage layer to the left drawer. Its dimensions remain editable in the same Nora3D document.
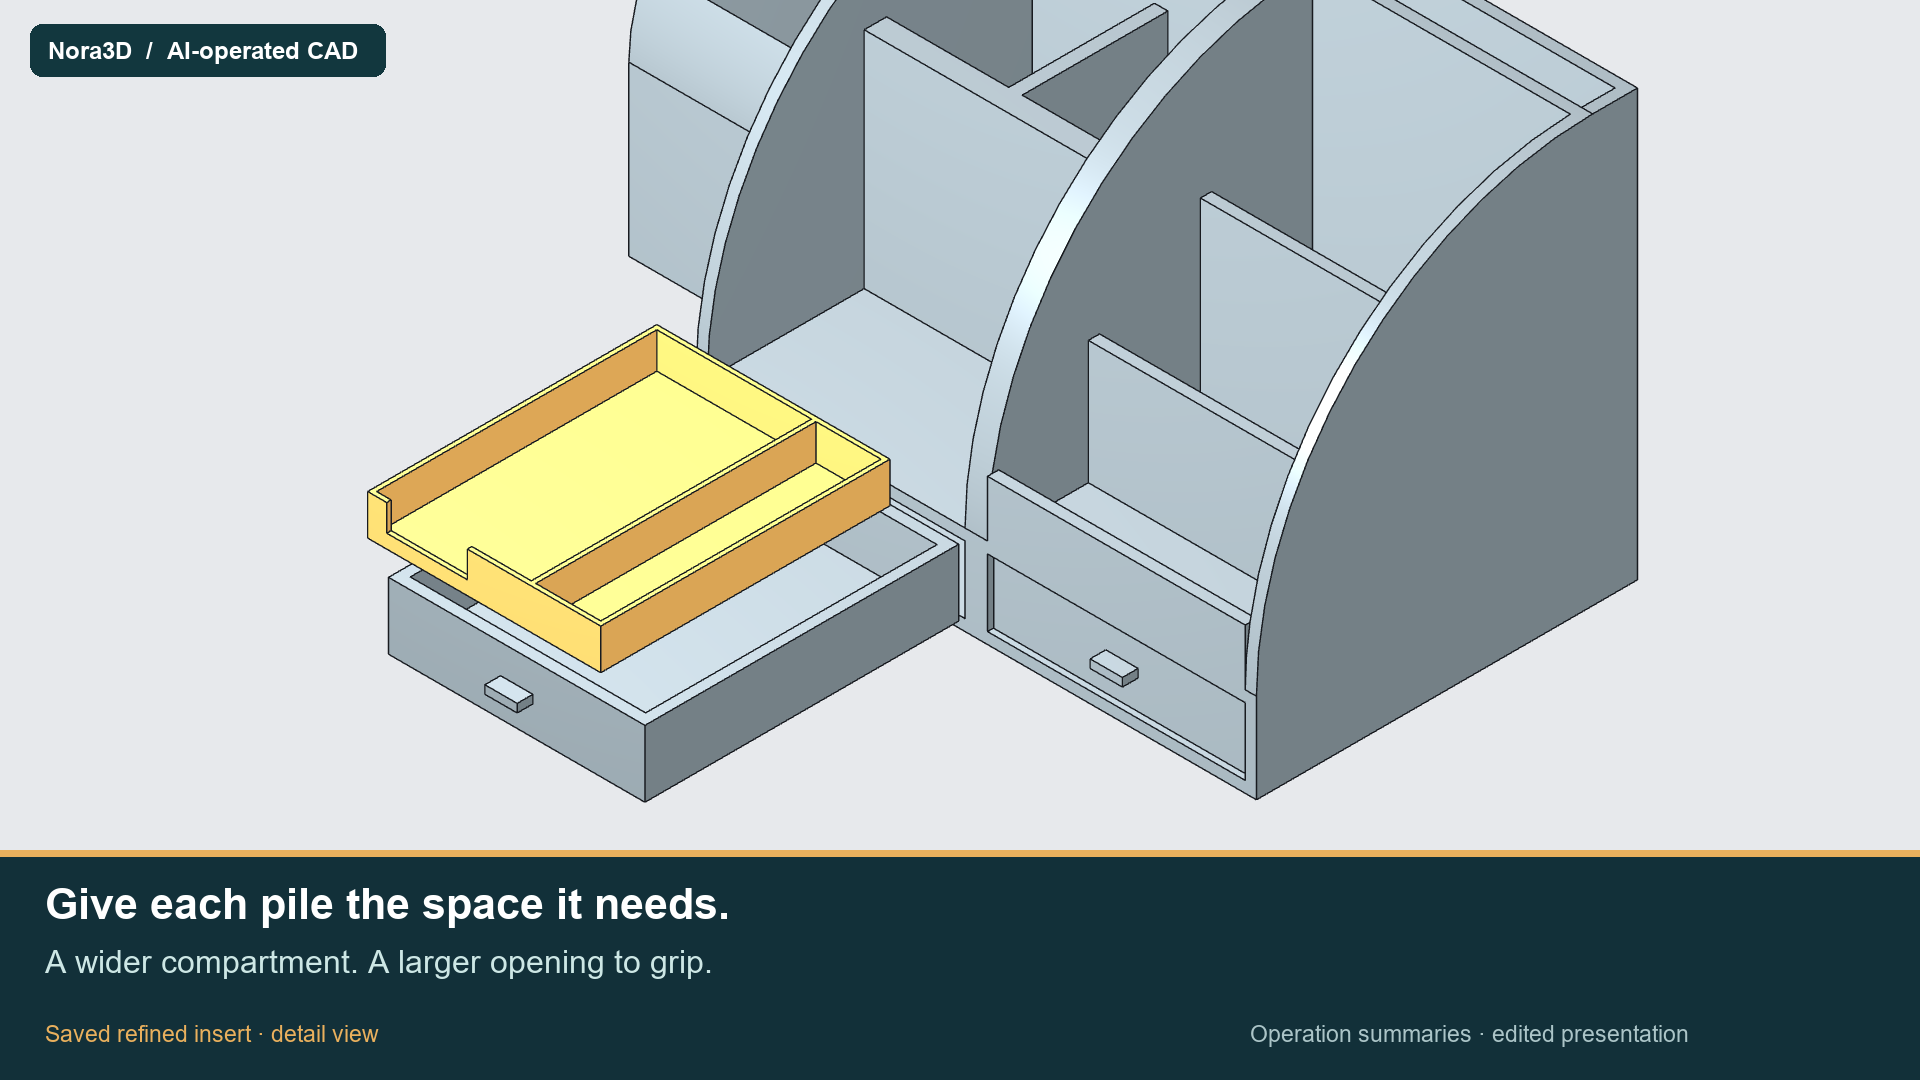
Give different contents different amounts of space
Imagine keeping bulkier small parts together with a much smaller group of fasteners. Equal compartments allocate the same width to both groups. An offset divider lets the tray reflect the intended contents.
The initial insert measures 104 × 129 × 18 mm. Its two pockets each have 49 mm of clear width and 125 mm of clear length. The floor, outer walls and central divider are each 2 mm thick, giving the pockets a 16 mm internal depth.
This first version establishes the outer envelope and an editable baseline. The next decision concerns how that space should be shared.
Move the divider while keeping the tray envelope
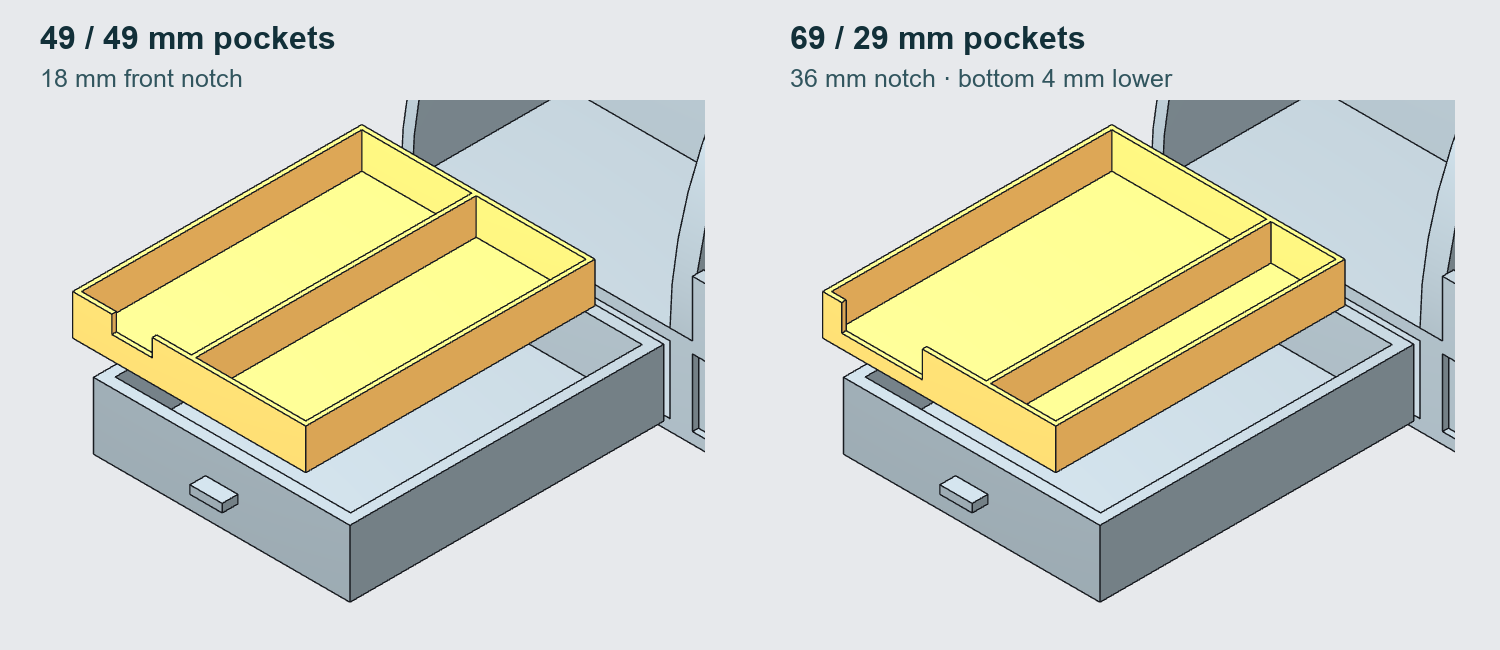
The AI-controlled edit changes the two pocket-cutting features together. One pocket grows to 69 mm and the other narrows to 29 mm. Their positions also change, moving the 2 mm divider by 20 mm while retaining the 104 × 129 × 18 mm tray envelope.
That coordinated change matters. Resizing only one cutting feature could consume the divider or leave an unintended wall. Here, the pocket widths and locations describe the intended pair of compartments.
Give the front notch a separate job
The divider controls storage space. The front notch defines an opening for gripping the insert.
The initial notch is 18 mm wide. The second edit makes it 36 mm wide and lowers the cutter's bottom by 4 mm. This creates a wider and deeper opening across the tray's front wall.
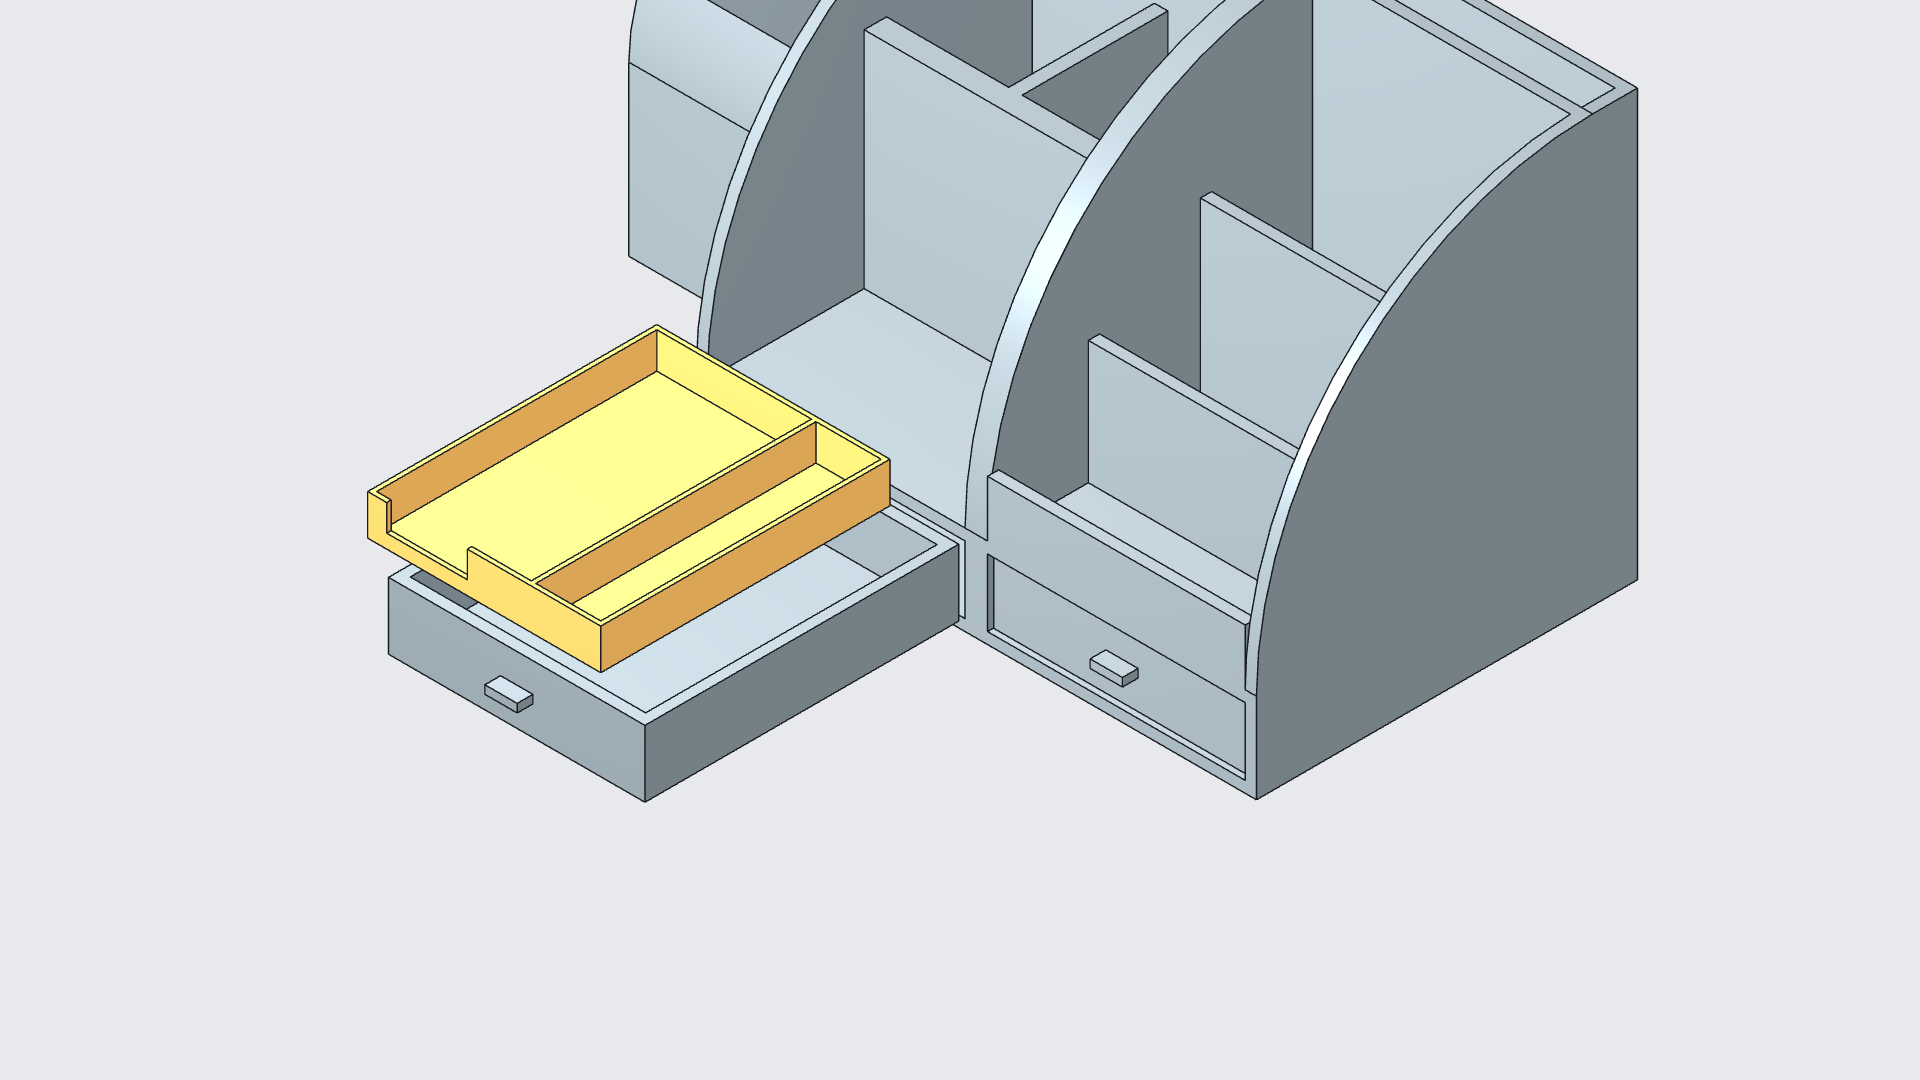
Treat these as two design decisions. Allocate room for the contents first, then shape the access opening around the intended handling motion. Each decision has its own editable feature.
What changed, and what stayed the same?
| Dimension | Baseline | Refined |
|---|---|---|
| Tray envelope | 104 × 129 × 18 mm | 104 × 129 × 18 mm |
| Pocket clear widths | 49 / 49 mm | 69 / 29 mm |
| Divider thickness | 2 mm | 2 mm |
| Front notch width | 18 mm | 36 mm |
| Notch bottom | Starting position | 4 mm lower |
Keep the edits available for the next refinement
The template supplies the organizer body, drawers and upper storage. The added tray supplies the new pocket and notch controls. The original template was inserted as bodies, while the new features expose editable dimensions in this document.
After saving and reopening, Nora3D retained all five solids and the final dimensions. The native geometry check returned a valid, closed result. The insert's measured envelope remained 104 × 129 × 18 mm.
When the contents change, the next iteration can begin with those existing pocket and notch features. That is the practical value of editing the same model—each saved decision becomes the starting point for the next adjustment.
For another example of revising an existing organizer, see editing the same bathroom organizer. The broader same-model CAD workflow explains why continuing from a saved design matters.