A first model is a starting point. The useful question comes next: can you change the part you care about and keep working on the same design?
In this Nora3D example, an AI agent adds a phone cradle to an existing charging-stand template, then refines its editable dimensions in the same document. The support and lip widen from 80 to 110 mm, the cable opening grows from 8 to 18 mm, and the lip feature rises from 6 to 12 mm. The support depth stays at 28 mm. Saving and reopening preserves the final dimensions and the four solids.
Start with a template, then add editable features
The starting point is the Apple Phone and Watch 2 - in - 1 Charger Stand from Nora3D's template library. Its three solids provide the base and the phone and watch supports. The next design task is to add a cradle at the bottom of the phone support.
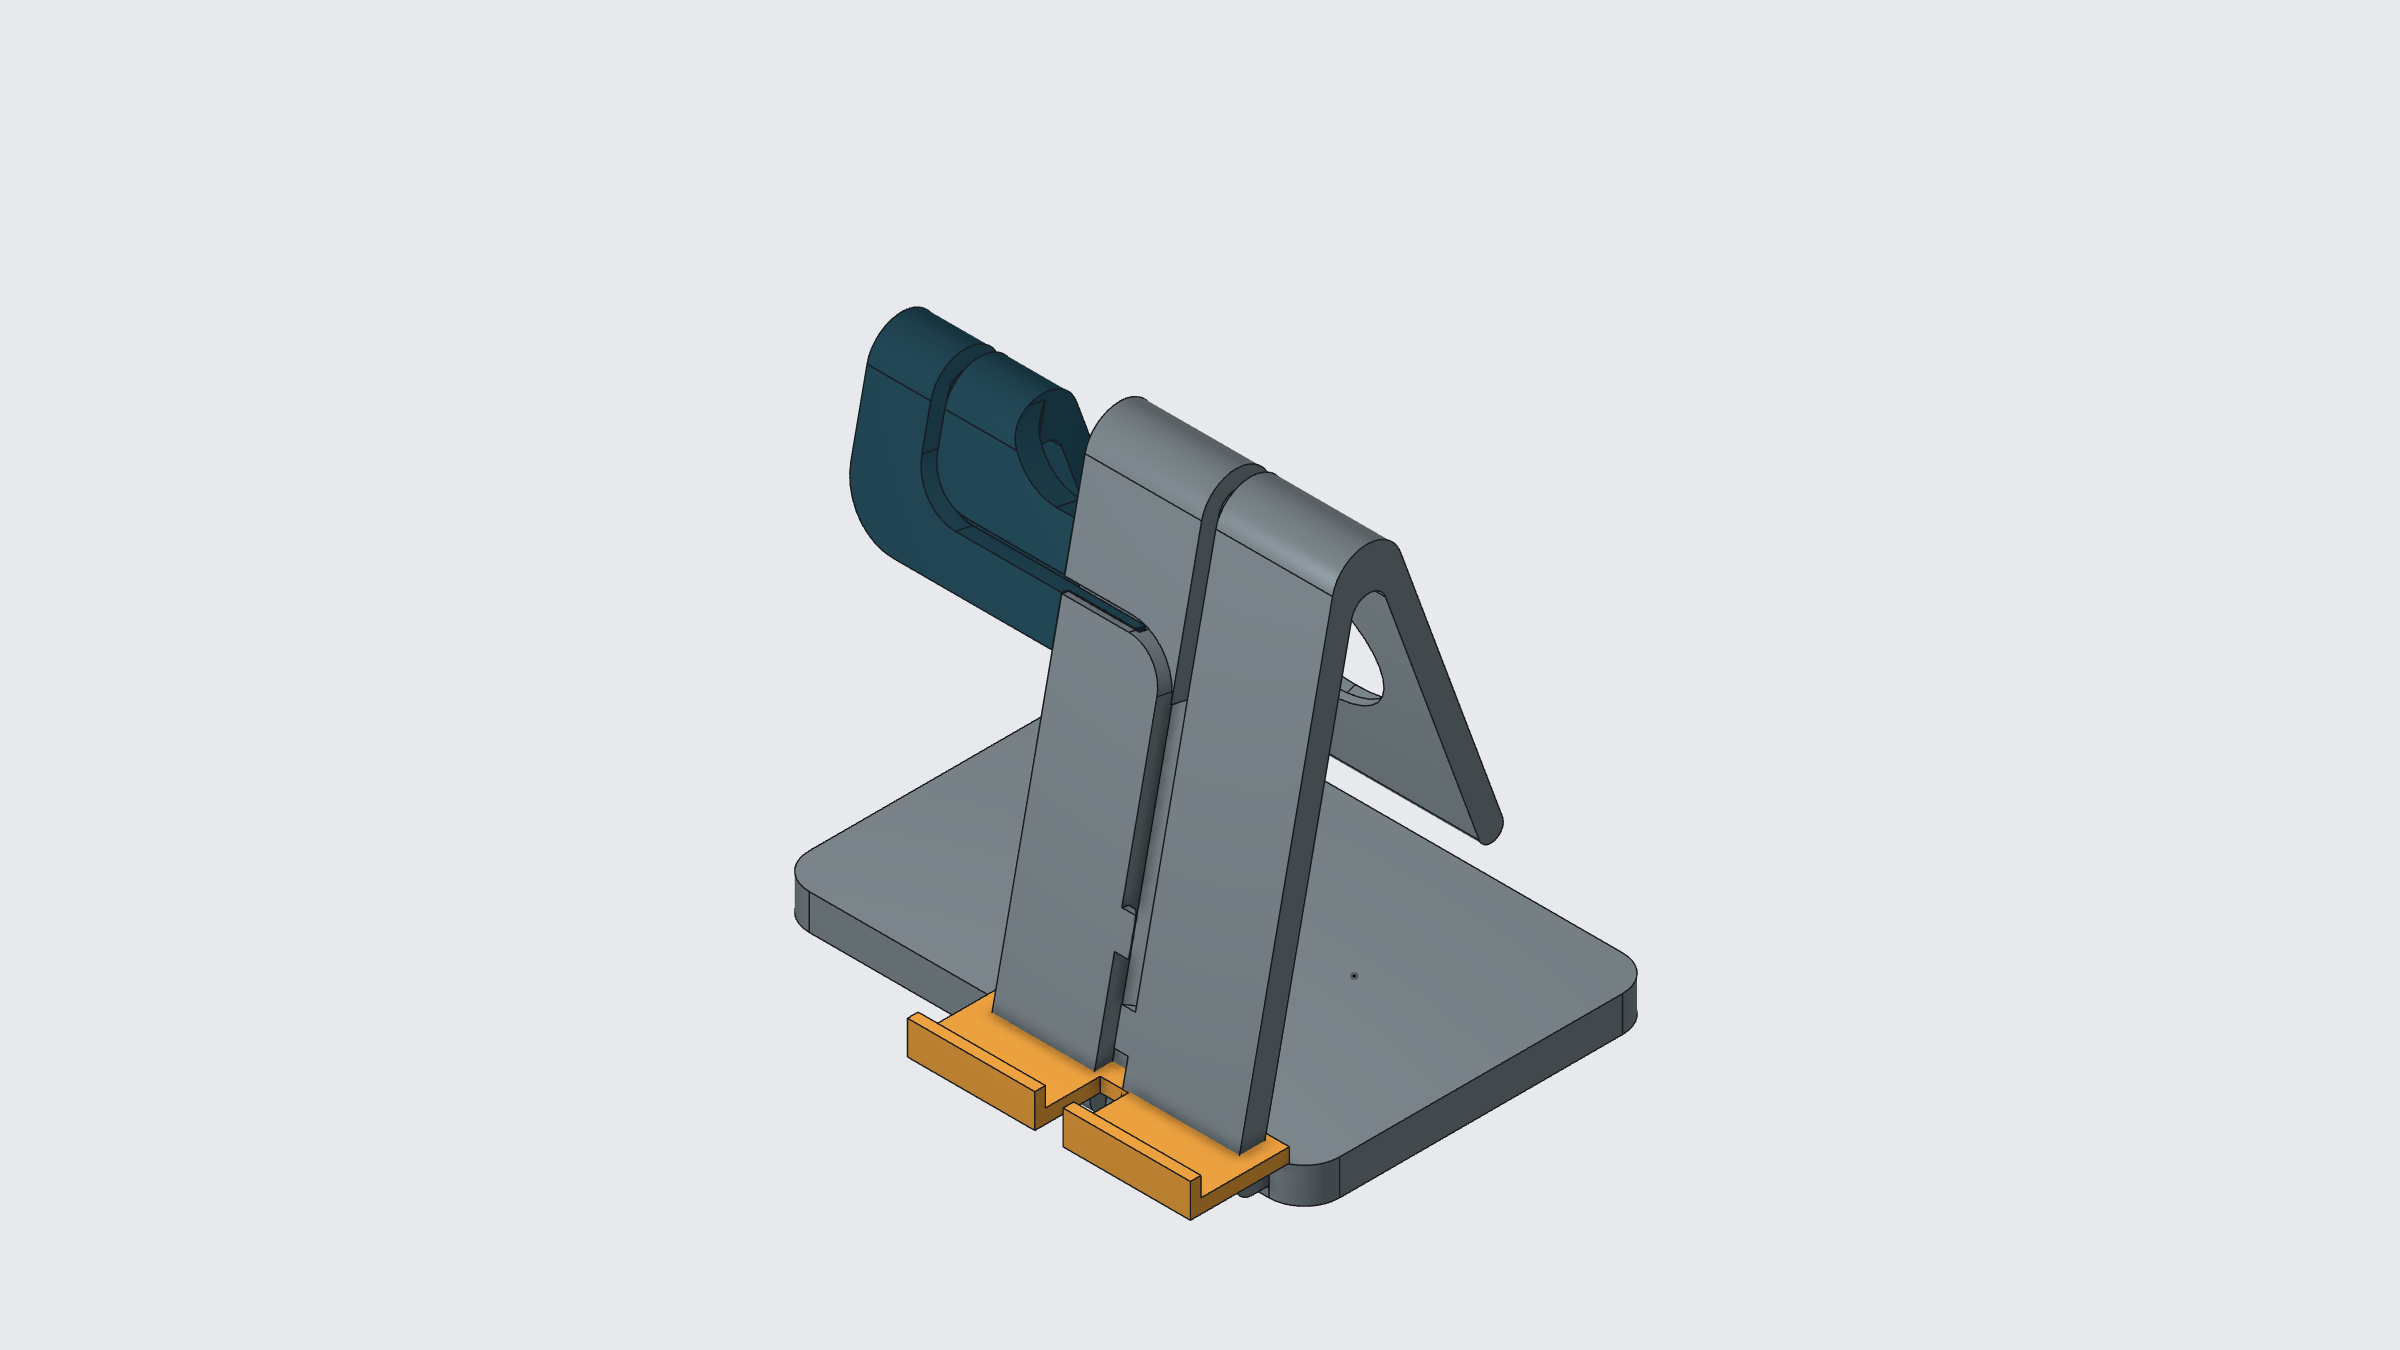
Codex operates Nora3D through its modeling connection to build a support ledge and a front lip, join them, and cut an open cable path through the front. The orange part is the new cradle.
The distinction matters: the template supplies the surrounding solid geometry, while the newly added features provide the editable support width, cable-opening width and lip height. Those are the dimensions changed in this example.
Three changes in the same CAD model
Instead of generating another stand, the agent changes the features already in the document. Each edit has a specific purpose and a value that can be checked.
| Editable dimension | First cradle | Refined cradle |
|---|---|---|
| Support width | 80 mm | 110 mm |
| Lip width | 80 mm | 110 mm |
| Cable-opening width | 8 mm | 18 mm |
| Lip feature height | 6 mm | 12 mm |
| Support depth | 28 mm | 28 mm |
1. Widen the support and lip together
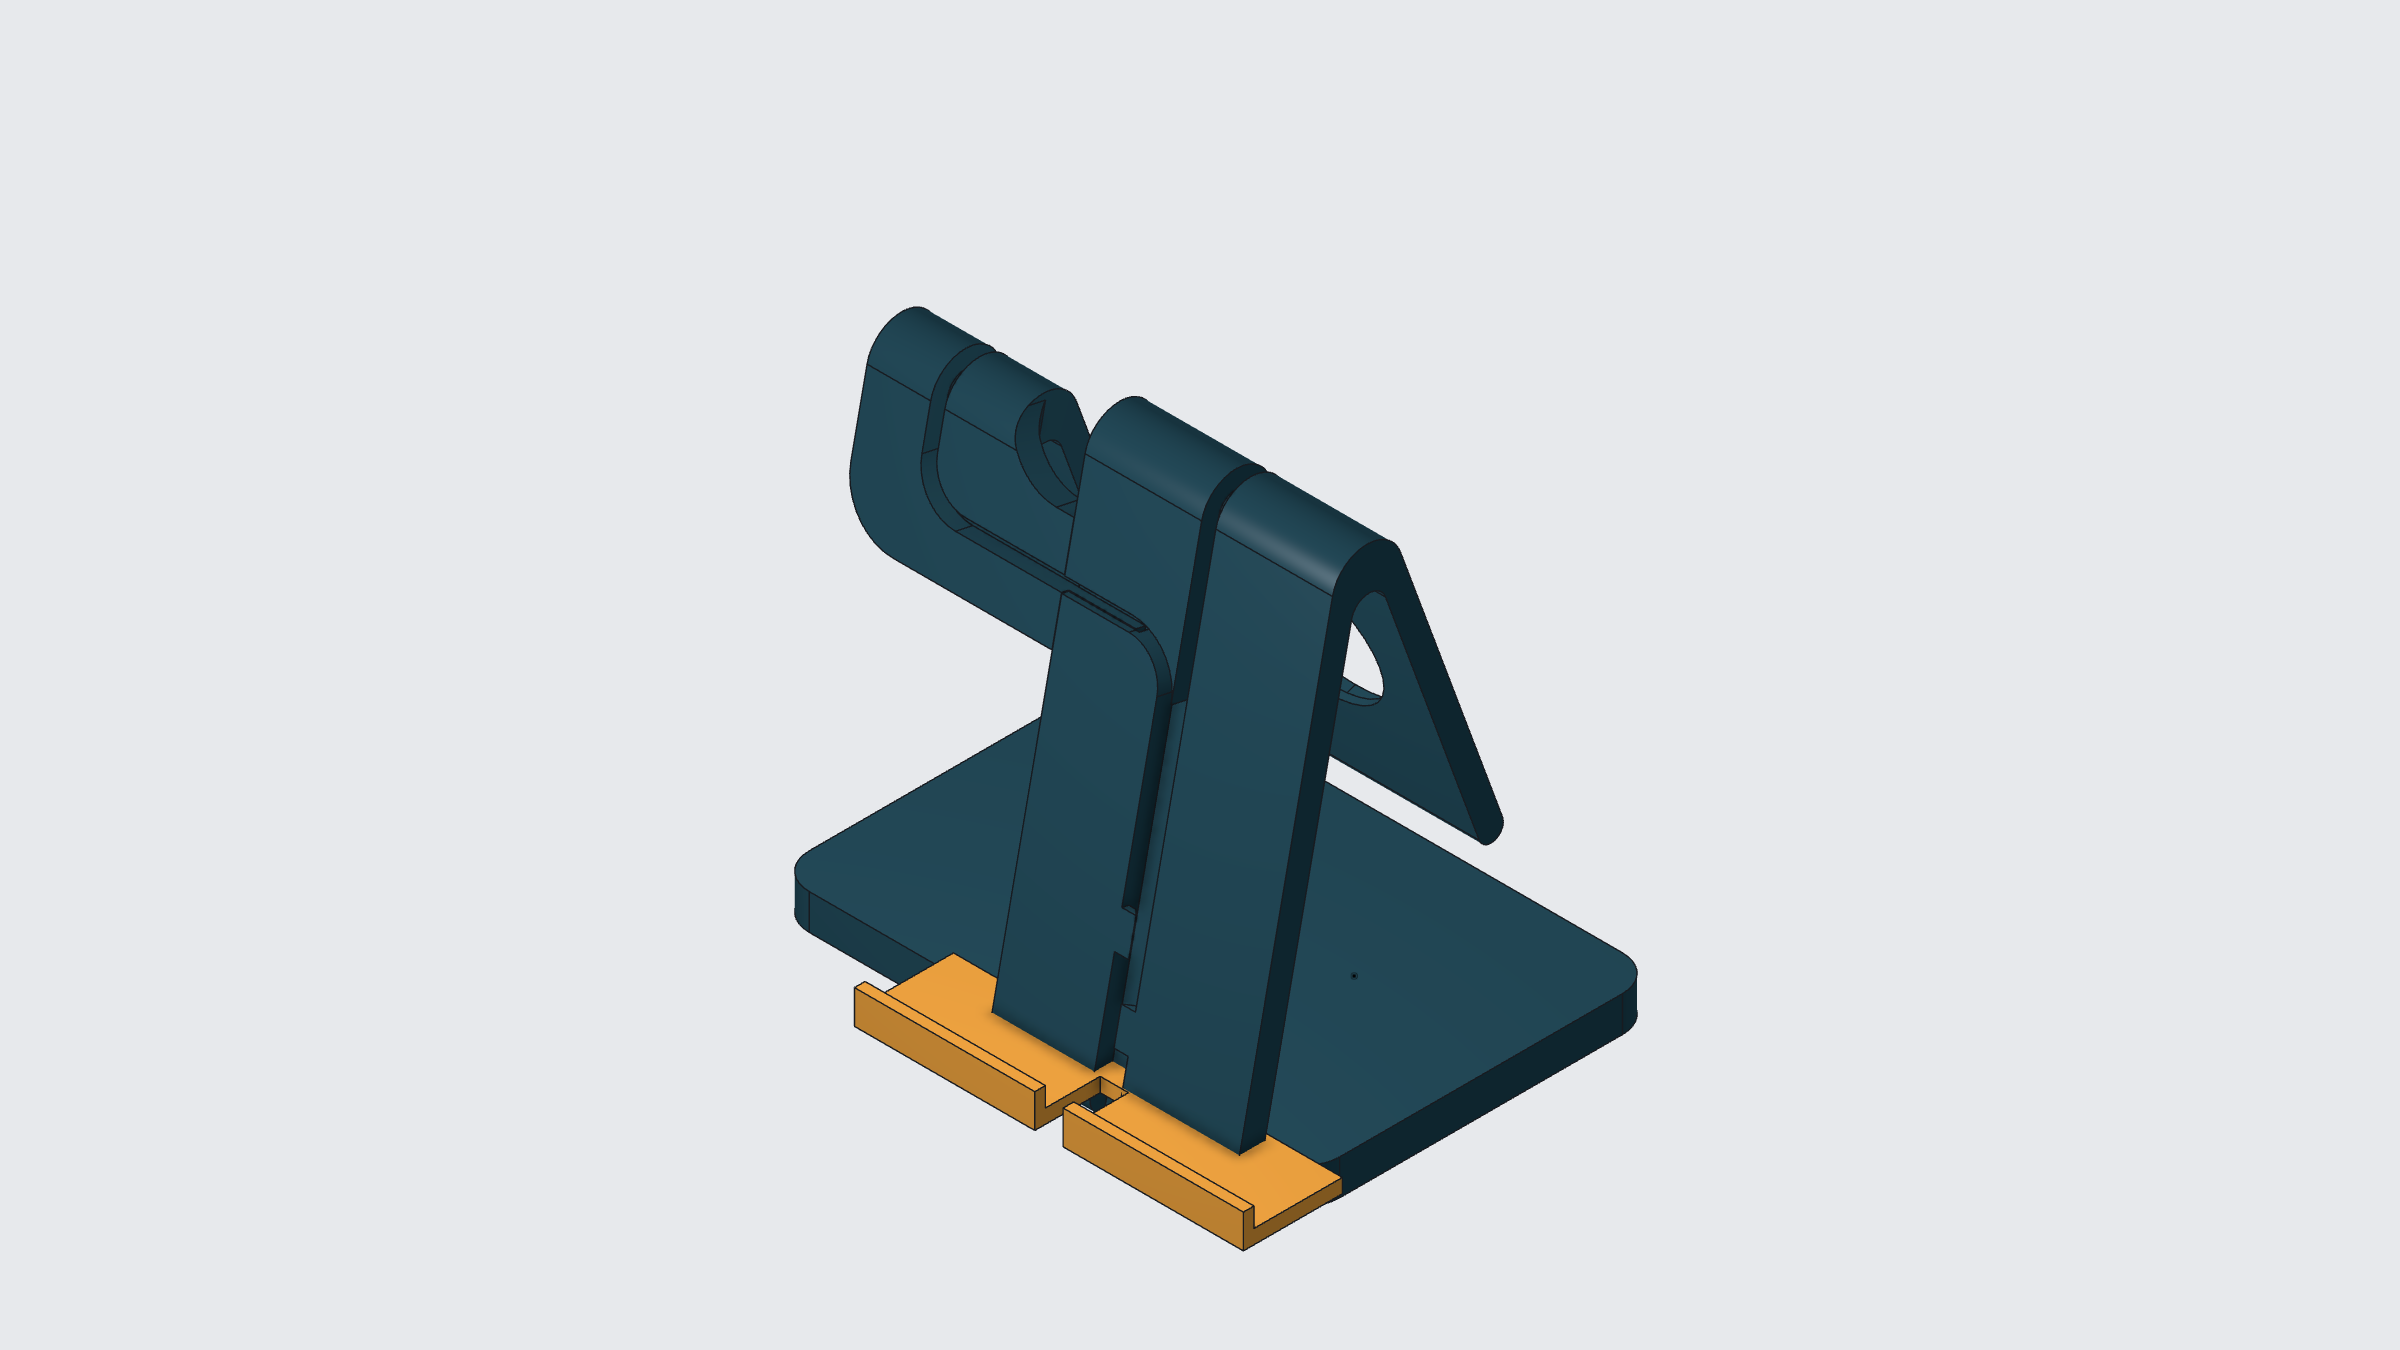
The first change creates a broader landing area. Both the support and its front lip are changed from 80 to 110 mm, while the support depth remains 28 mm.
Editing both widths keeps the front edge aligned with the wider ledge. It also makes the design decision explicit: the cradle gets wider without becoming deeper.
2. Widen the cable opening from 8 to 18 mm
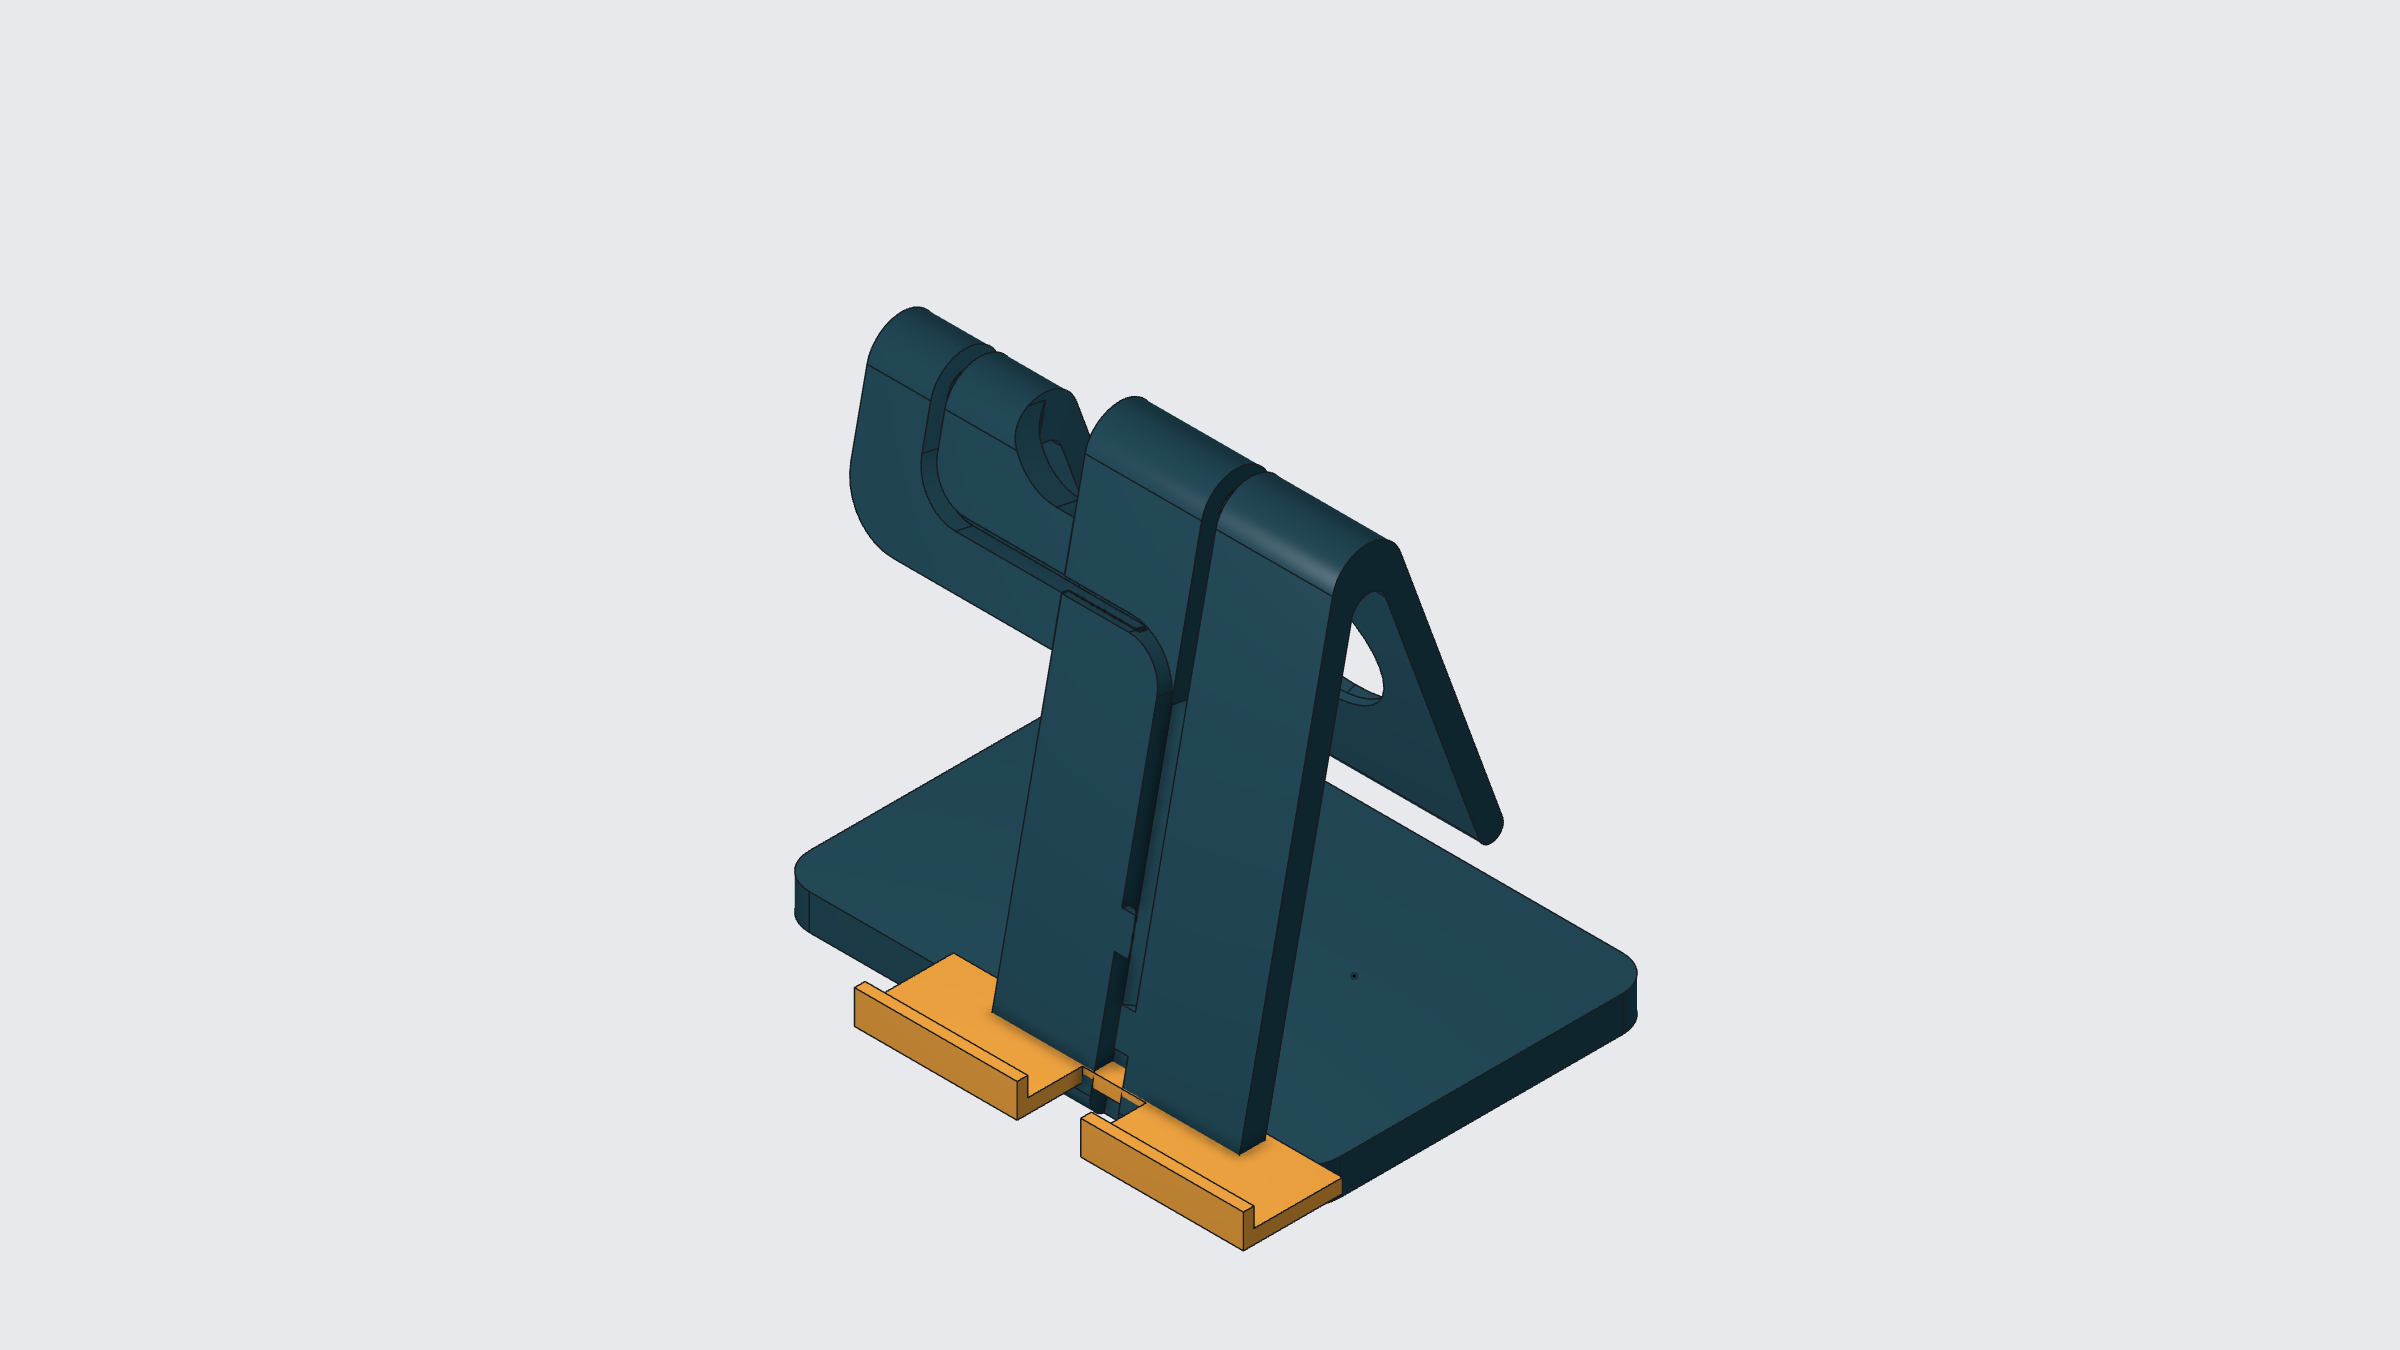
The cable path is made with a cutting feature. Increasing that feature's width from 8 to 18 mm opens a wider channel through the front of the cradle.
The cut stops before the back of the ledge, leaving a rear bridge. This is a local change to the added cradle; the base and upper supports remain in the same design.
3. Raise the lip feature from 6 to 12 mm
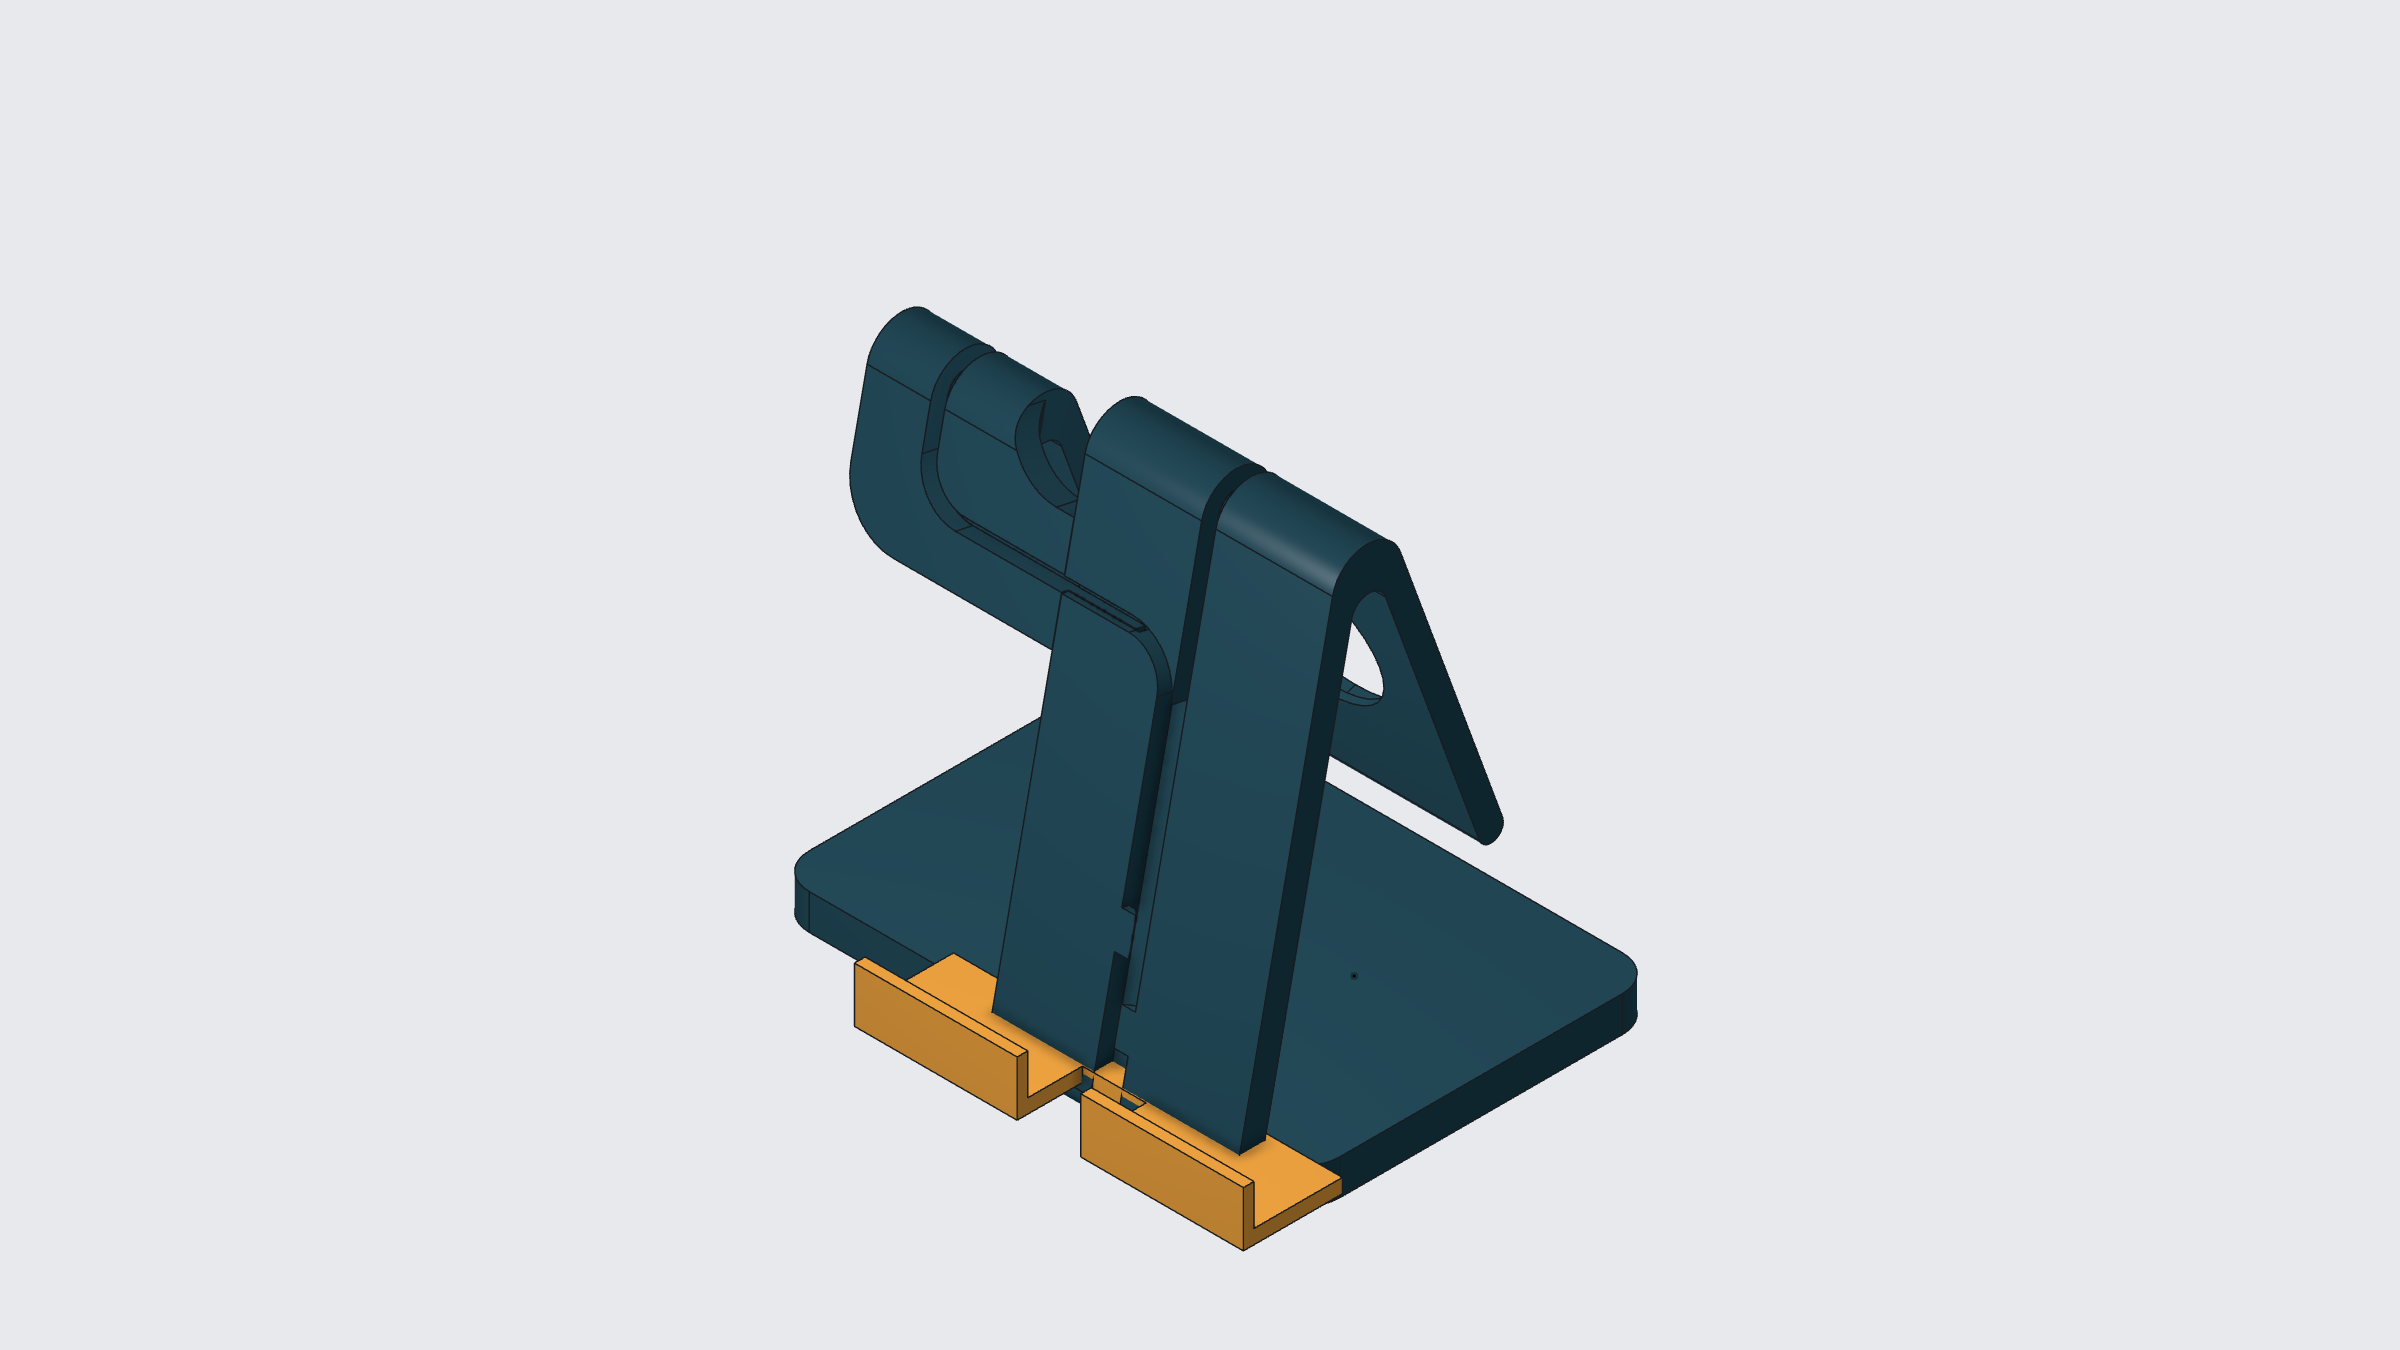
The last change increases the lip feature's height from 6 to 12 mm, giving the cradle a taller front edge around the cable opening. Here, 12 mm describes the lip feature, rather than the total height of the assembled cradle.
The three changes address different parts of the design: landing width, cable access and front-edge height. They stay attached to the same model and its editable features.
Compare the result, then save and reopen
The before-and-after view makes the changes easy to inspect. Focus on the orange cradle: its wider support, larger opening and taller lip. The template surfaces also have an updated display color in the final view.
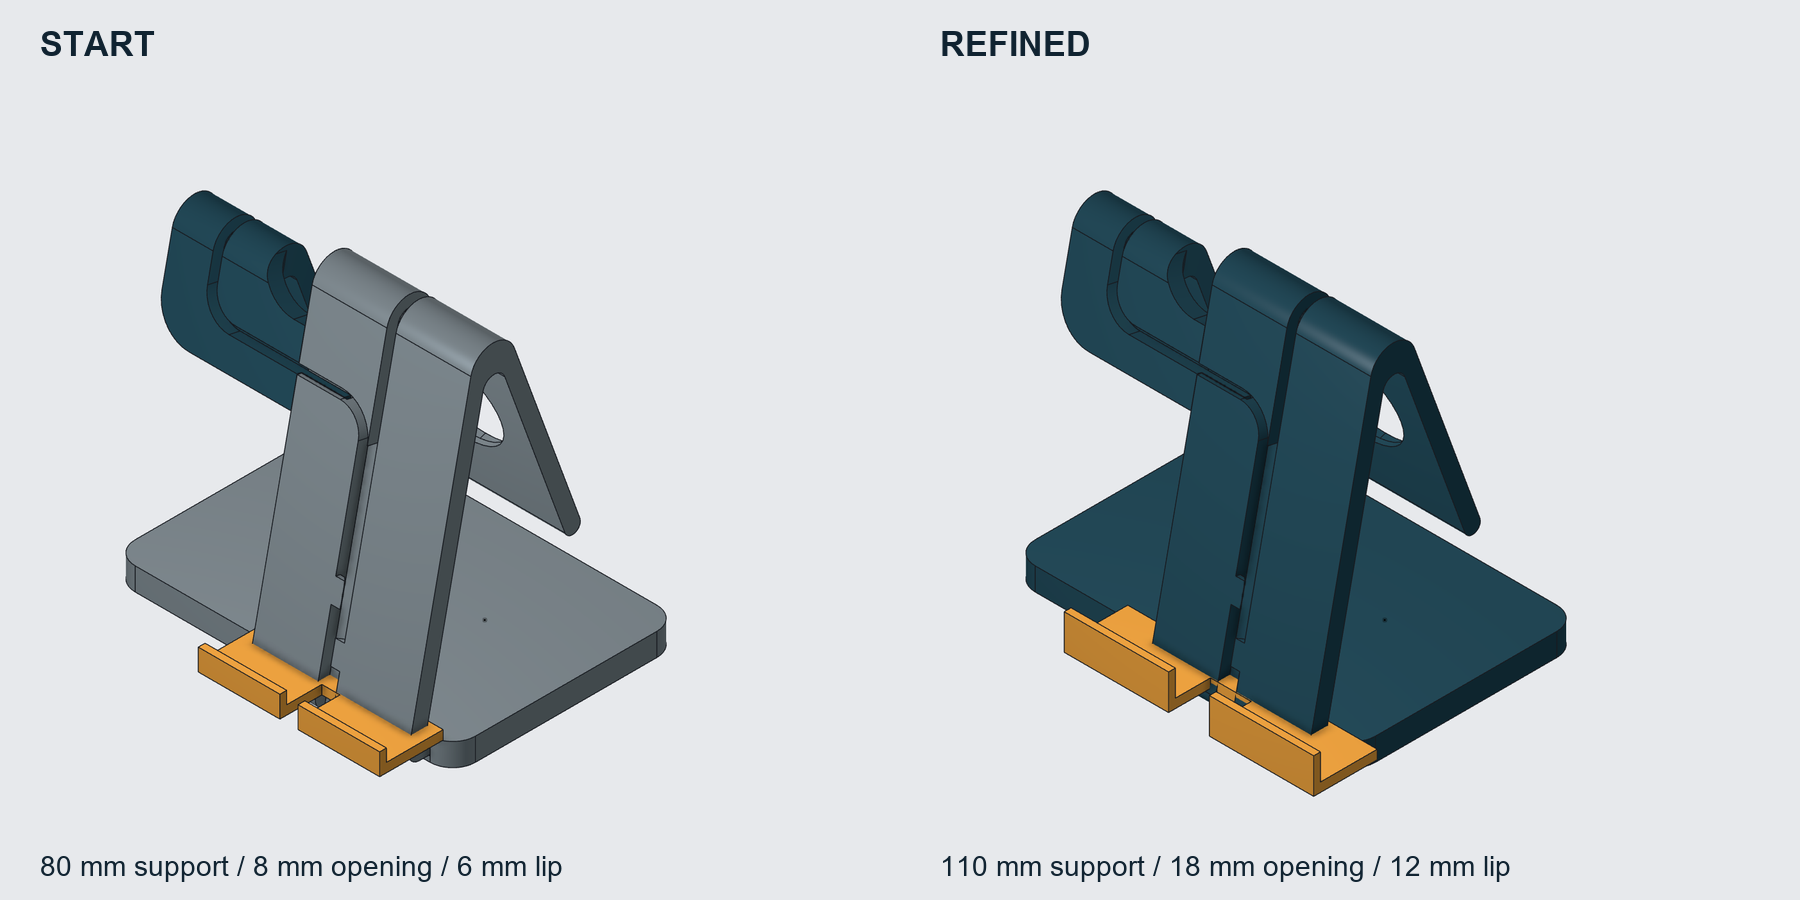
After a normal save and reopen, the document retained eight features and four solids: the three template solids and the new cradle. The final feature dimensions were still present, with no pending saves.
That is a useful checkpoint for iterative CAD work. A different-looking view is only part of the result; the dimensions also need to remain available for the next edit.
What this example shows about editable AI CAD
Can you keep editing an AI CAD model after the first result? In this workflow, yes: the agent changes existing feature dimensions, inspects the updated geometry, and saves the result in the same document.
Which part of the template is editable here? The orange cradle uses newly added editable features. The inserted stand provides the surrounding solids. This lets the design build on a useful starting shape while giving the new part clear dimensions to revisit.
For the broader approach, read how Nora3D keeps working on the same model. For another example of adding a feature and then revising its dimensions, see the tray-divider workflow.
Have a model that is almost right? Open Nora3D and make the next change.